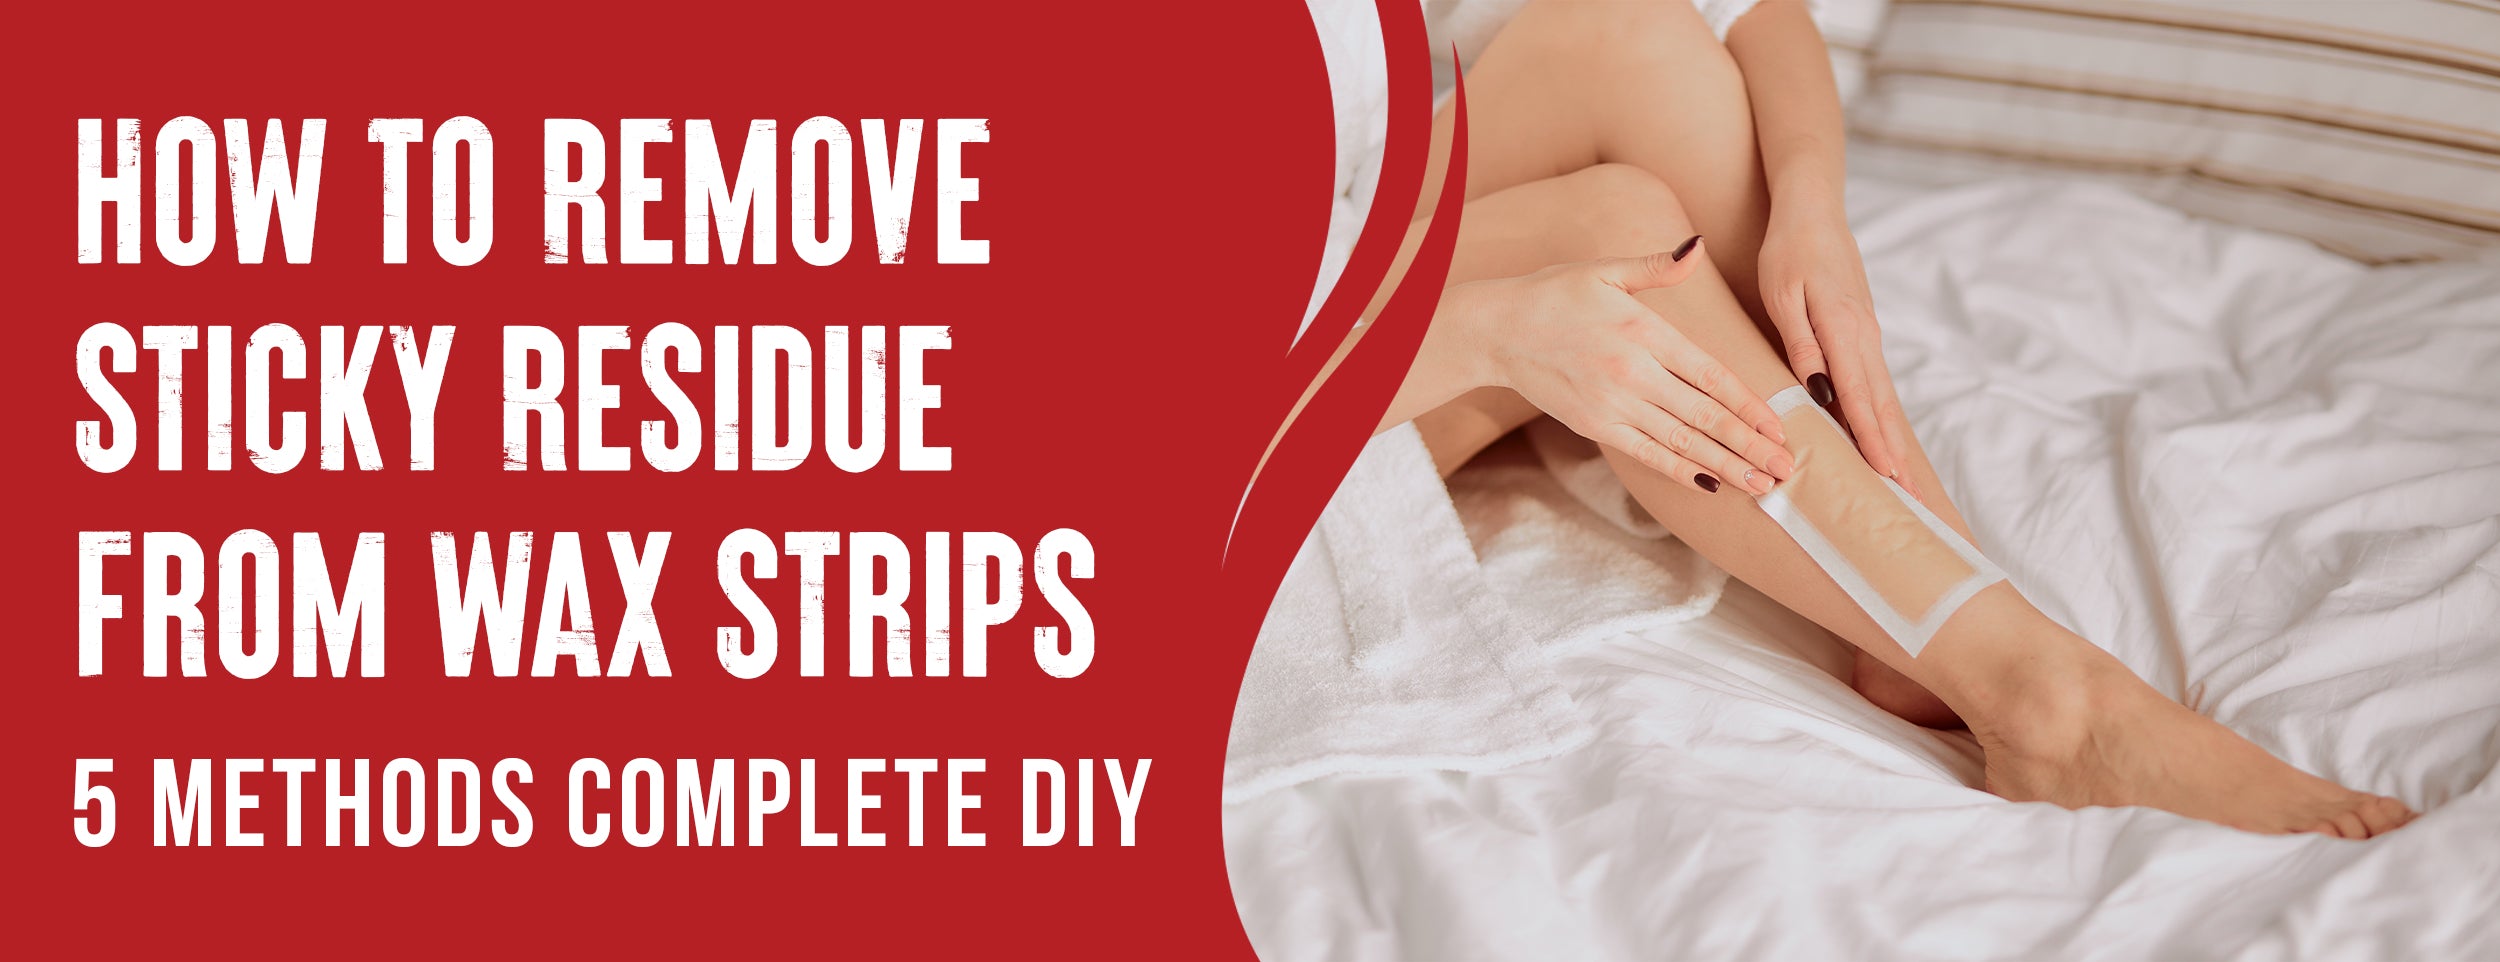
Waxing your legs is a convenient and cost-effective way to achieve salon-like results at home. Before getting started, you must know how to properly care for your face and body before and after waxing.
Spread the wax on your legs in sections using a wax spatula, going toward the hair growth. Warm the strips between your hands and press them on your legs. Wait until hard wax dries (but is still soft).
This blog post will guide you through waxing your legs quickly and confidently. We'll start with some essential pre-care tips, move on to how to apply wax strips properly and finish with post-wax care.
How to Wax Your Legs at Home: 5 Easy Steps

Your home leg wax may seem daunting, but it can save you time and money in the long run. To ensure a successful waxing experience, following the proper steps and techniques is essential, starting with choosing the right type of wax.
Choose Right Wax: 3 Options
Various types of wax are available for at-home use, including soft wax, hard wax, and sugar wax. It's essential to consider your skin type and sensitivity when choosing which kind of wax to use.
- Soft wax: This type is typically used with muslin strips and is best for larger areas like legs. It works by adhering to the hair and removing it from the root. It can be more painful and may cause skin irritation for those with sensitive skin.
- Hard wax: This wax is typically used without strips and is best for smaller areas like the bikini or underarms. It works by hardening and lifting leg hair from the root. Skin irritation and pain are reduced.
- Sugar wax: This wax is made from natural ingredients like sugar and lemon juice and is best for sensitive skin. It's less painful and less likely to cause skin irritation but may not be as effective for removing thicker hair.
Strips Application Instructions: 4 Easy Steps
Once you've chosen the correct type of wax, it's essential to follow the proper steps for applying the strips to ensure maximum hair removal and minimal pain.
- Start with clean, dry skin: Make sure your legs are free of lotions or oils that may interfere with the wax.
- Heat the wax: Follow the instructions provided with your wax to heat it to the proper temperature. It should be warm but not hot enough to burn your skin.
- Apply the wax: Use a spatula or wax applicator to apply wax thinly to your leg skin toward hair growth. It's important not to apply too much wax, which can make removing it more difficult.
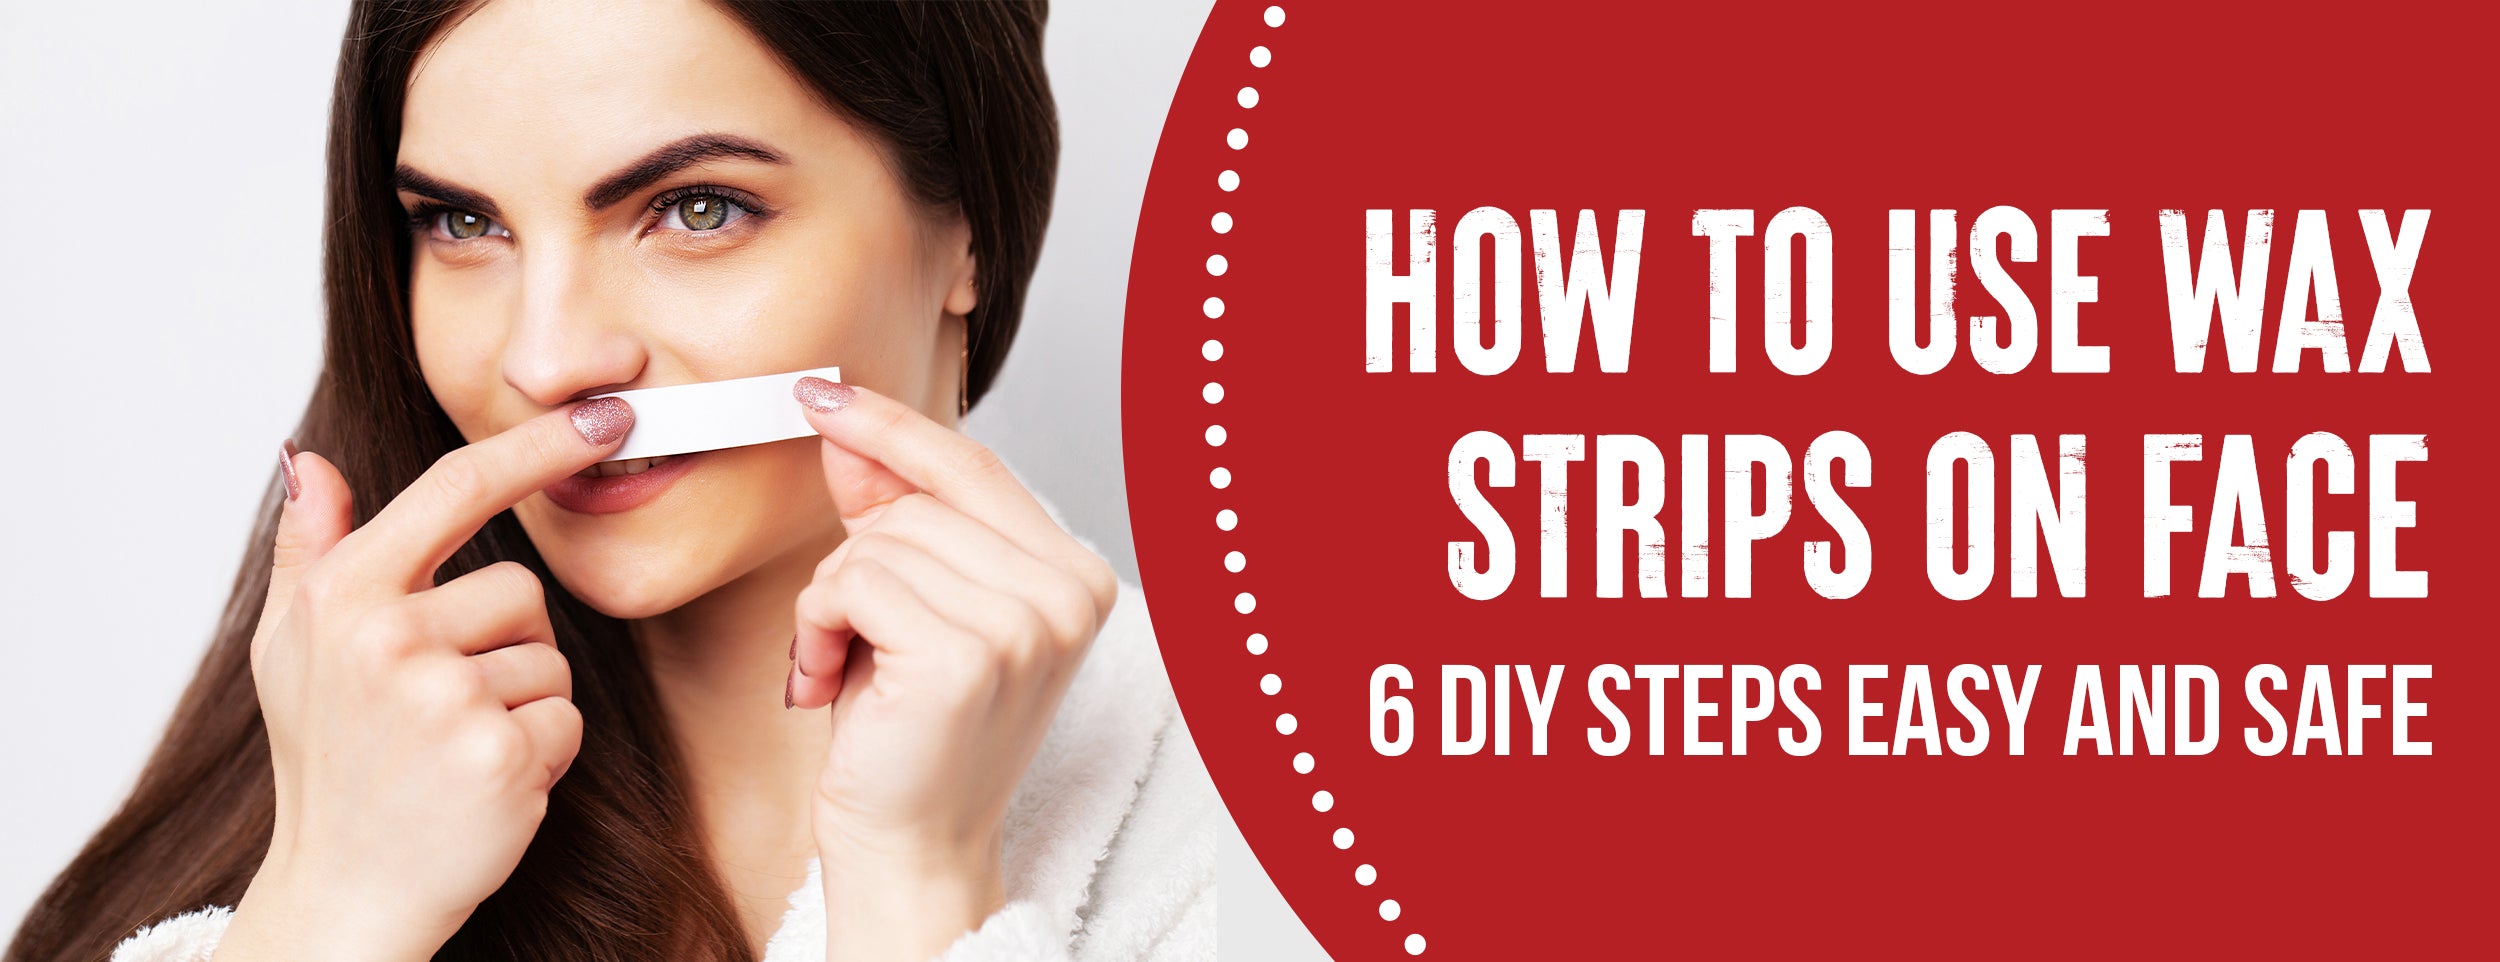
- Place the strip: Apply a wax strip over it, pressing it down firmly toward hair growth.
- Pull the strip: Hold the skin taut with one hand and use the other hand to pull the strip off quickly against leg hair growth. Pulling in one swift motion and not hesitating is important, as this can make the process more painful.
- Repeat as necessary: Continue applying and removing strips until you have removed all unwanted hair.

How to Hold and Pull Wax Strips: Avoid Pain
Holding the wax strip and pulling it off effectively is critical to ensuring painless hair removal.
- Use a firm grip: Hold the end of the wax strip firmly with your fingertips or fingernails to ensure it doesn't slip out of your hand while pulling.
- Pull quickly: Pull off the strip soon, avoiding pain and obliterating hair.
- Hold skin taut: Use your other hand to hold the skin tight to minimize pain and ensure the strip removes the hair properly.
Proper Technique to Ensure Minimal Pain
Using the proper technique when waxing your legs can make a big difference in the amount of pain and the effectiveness of the process.
- Choose the suitable wax: As mentioned above, choosing the right type for your leg skin can reduce pain and irritation.
- Apply a thin layer of wax: It ensures it is appropriately stuck to the leg's hair and makes removing it easier.
- Apply in the direction of hair growth: Applying the wax in the order of legs hair growth ensures maximum hair removal.
- Pull in the opposite direction of hair growth: This ensures maximum hair removal from leg and reduces pain.
- Be prepared for pain: While using the proper techniques to minimize pain, it's essential to be ready for discomfort.
Mistakes You Might Make During an Application

Mistakes can happen during waxing, but there are ways to fix them.
- Remove excess wax: If you apply too much wax or get wax in an area you don't want to, use a cotton ball or cloth with mild oil, like baby oil, to remove the excess.
- Soothe irritated skin: If your skin becomes irritated or red after waxing, apply a soothing cream or aloe vera gel to calm the area.
- Wait for regrowth: Wait until the hair regrows before correcting the mistake. Relying wax on the same area too soon can cause further irritation or damage your leg skin.
Leg Waxing at Home: 5 Pre-Care Tips
Before diving into the process, preparing yourself with some pre-care tips is essential. These tips will ensure a seamless and successful waxing experience. Here are some crucial pre-care tips:
Cleanse Your Legs
Washing your legs is an essential step in the pre-care process. This will help remove dirt, oil, or dead skin cells that may clog your pores and interfere with waxing. Clean legs will make the waxing process less painful and more effective.
To properly cleanse your legs, follow these steps:
- Use warm water to wet your legs, allowing the water to loosen any dirt or debris.
- Apply a gentle cleanser, preferably one that is pH-balanced and free from harsh chemicals.
- Massage the cleanser into your skin using circular motions, paying extra attention to areas more prone to dirt and oil buildup.
- Rinse thoroughly with warm water and pat your legs dry.
Trim Your Hair
Trimming your leg hair to the proper length is another critical pre-care step. This will ensure that the wax can adequately stick to your hair, making removal less painful and reducing the risk of ingrown hairs.
To properly trim your hair, follow these steps:
- Use scissors or clippers to trim your leg hair to approximately 0.25-0.5 inches in length.
- Trim along the growth direction to ensure a more even waxing experience.
- Avoid trimming your hair too short or long, as this can interfere with waxing.

Check Your Skin
Before you wax, ensuring your leg skin is clean and dry is crucial. This will help the wax adhere better to your skin, reducing the risk of skin irritation and damage.
To properly check your skin, follow these steps:
- Inspect your leg skin for any cuts, bruises, or rashes. If you have any of these, avoid waxing altogether or wait until your skin has fully healed.
- Avoid waxing if you have sunburned your leg skin, which can lead to further skin damage and irritation.
- It’s best to avoid waxing during your menstrual cycle, as your skin may be more sensitive and prone to pain.
Watch Out for Allergens
Some people may have allergies or sensitivities to certain waxing products. Before using any waxing product, read the label carefully and check for potential allergens.
Common allergens in waxing products include:
- Beeswax.
- Coconut oil.
- Jojoba oil.
- Fragrances.
- Preservatives.
If you have any concerns about allergens, it’s best to perform a patch test before waxing. Apply a small amount of wax to a small skin patch and wait for any reactions before proceeding with the entire wax.
Avoid Waxing During Certain Times
To avoid complications, it is beneficial to prevent waxing during specific times. For instance, if you are menstruating, avoid waxing your legs, as your hormones may make your skin more sensitive than usual. Similarly, if you have a sunburn or other skin irritations, it is best to wait a few days until the skin has fully healed before waxing.
Wax Your Legs at Home: 4 Post-Wax Care
To ensure that your skin remains healthy and free from irritation, it's crucial to take proper care of it after you wax. Post-wax care is just as crucial as pre-care. We will explore the importance of post-wax care and provide tips on effectively taking care of your skin after waxing.
Importance of Proper Cleansing and Moisturizing

After waxing, your skin is likely sensitive and prone to irritation, so using gentle, non-irritating products when cleansing and moisturizing is essential. Follow these guidelines to ensure that your skin stays healthy and supple:
- Avoid harsh soaps or scrubs on the waxed leg skin, which can dry your skin and cause irritation. Instead, use a mild, fragrance-free cleanser free from alcohol and other potentially irritating ingredients.
- Always use lukewarm water when cleansing the waxed leg skin. Hot water can further dehydrate your skin, leading to dryness, flakiness, and irritation.
- After cleansing, pat your skin dry with a clean towel. Don't rub it vigorously, which can cause further irritation and inflammation.
- Apply a mild, fragrance-free moisturizer to the waxed area, focusing on any dry or tight spaces. This will help to soothe your leg skin and prevent flakiness and dryness.
Preventing Ingrown Hairs and Skin Irritation
One of the downsides of waxing is that it can lead to ingrown hairs and other skin irritations. By taking a few simple steps, you can minimize your risk of these issues and keep your leg skin healthy and smooth:
- Don't shave or use other hair removal methods on the waxed leg for at least a week afterward. This will give your skin time to heal and reduce your risk of ingrown hairs and inflammation.
- Gently exfoliate the waxed leg a few times a week using a gentle scrub or a washcloth. This will help to prevent dead skin cells from clogging your pores and causing ingrown hairs.
- If you experience persistent ingrown hairs, try using a product that contains salicylic acid or glycolic acid. These ingredients help to exfoliate your leg skin and prevent pore blockages gently.

Addressing Pain and Discomfort
Waxing can be painful, especially if you're new to the process or have sensitive skin. To minimize any discomfort, try these tips:
- Take a pain reliever 30 minutes before your waxing appointment, such as ibuprofen.
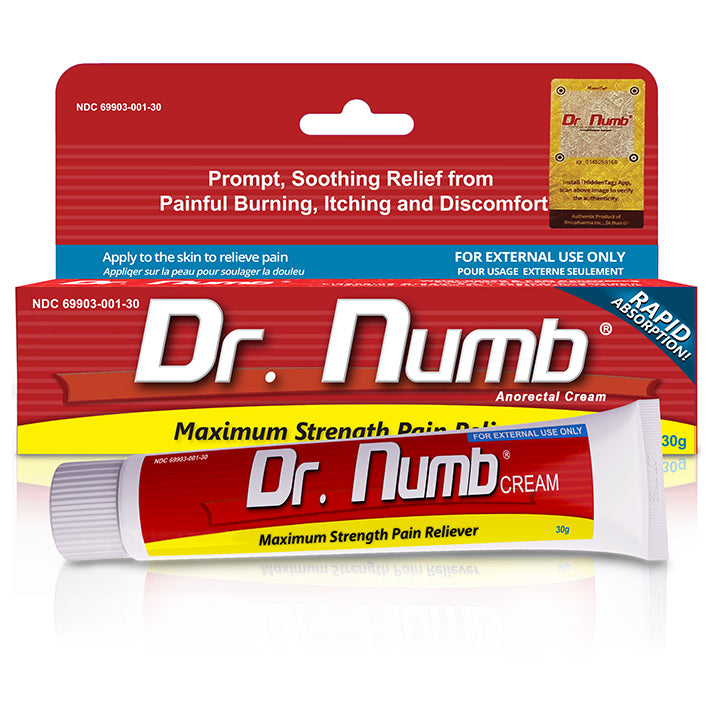
- Apply a numbing cream or gel to the waxed area 30 minutes before your appointment.
- Choose a wax formula for sensitive skin, as these typically contain soothing ingredients like aloe vera or chamomile.
- Apply a cool compress to the waxed area after your appointment to soothe any irritation.
Dealing with Negative Side Effects
Waxing can lead to adverse side effects, such as redness, swelling, or infection. If you experience any of these issues, don't hesitate to contact a healthcare professional or a licensed esthetician for advice. Some steps you can take to mitigate potential adverse side effects include:
- Avoid tight clothing or sweat-inducing activities for 24-48 hours after your wax.
- Refraining from scratching or picking at the waxed area.
- Apply a warm compress to the area to reduce redness and swelling.
Conclusion
Waxing your legs at home can be a rewarding and cost-effective alternative to salon appointments. By following these pre/post-care tips and instructions for applying wax strips, you'll be well on your way to achieving silky smooth legs in no time. Check out our blog or visit your local drugstore for recommended products and further information.


