Non-heated wax removal products typically include pre-waxed strips for precise application to ear hairs, ensuring safety. Experience the safest method for waxing your ear hair with the convenience of these products.
You should get a professional to wax your ear hair properly. Their expertise ensures accurate application and thorough coverage. Despite the cost, the results are worth it.
In this post, we will guide you on how to wax ear hair safely and effectively, so you can have neat and clean ears.
How to Wax Ear Hair: 4 Steps

When waxing ear hair, it's essential to choose the suitable wax and tools and prepare your ears and skin properly. But the most critical step is applying and removing the wax correctly, which can make a massive difference in your results. Follow these steps for safe and precise ear hair removal:
Choosing the Right Wax and Tools
Choosing the suitable wax and tools is critical for achieving safe and precise results. The following are the types of wax available for ear hair removal, recommended wax, and waxing tools.
Types of Wax
When it comes to ear hair removal, you'll want a wax designed for sensitive skin and delicate areas. Here are the types of wax to consider:
- Hard Wax: This wax is applied in a thick layer that hardens as it cools, allowing you to remove the hair without a strip. It's ideal for small areas such as the ear.
- Sugaring Wax: Made from natural ingredients such as sugar, lemon, and water, this wax is safe for sensitive skin and removes hair from small areas.
Tools and Materials Needed for Waxing
You'll also need specific tools and materials to perform waxing and choose the right wax. These include:
- Wax Warmer: Used to remove hair with wax, this device heats wax.
- Wooden Spatulas: Used to apply the wax onto the skin, these spatulas are gentle and avoid any potential irritation.
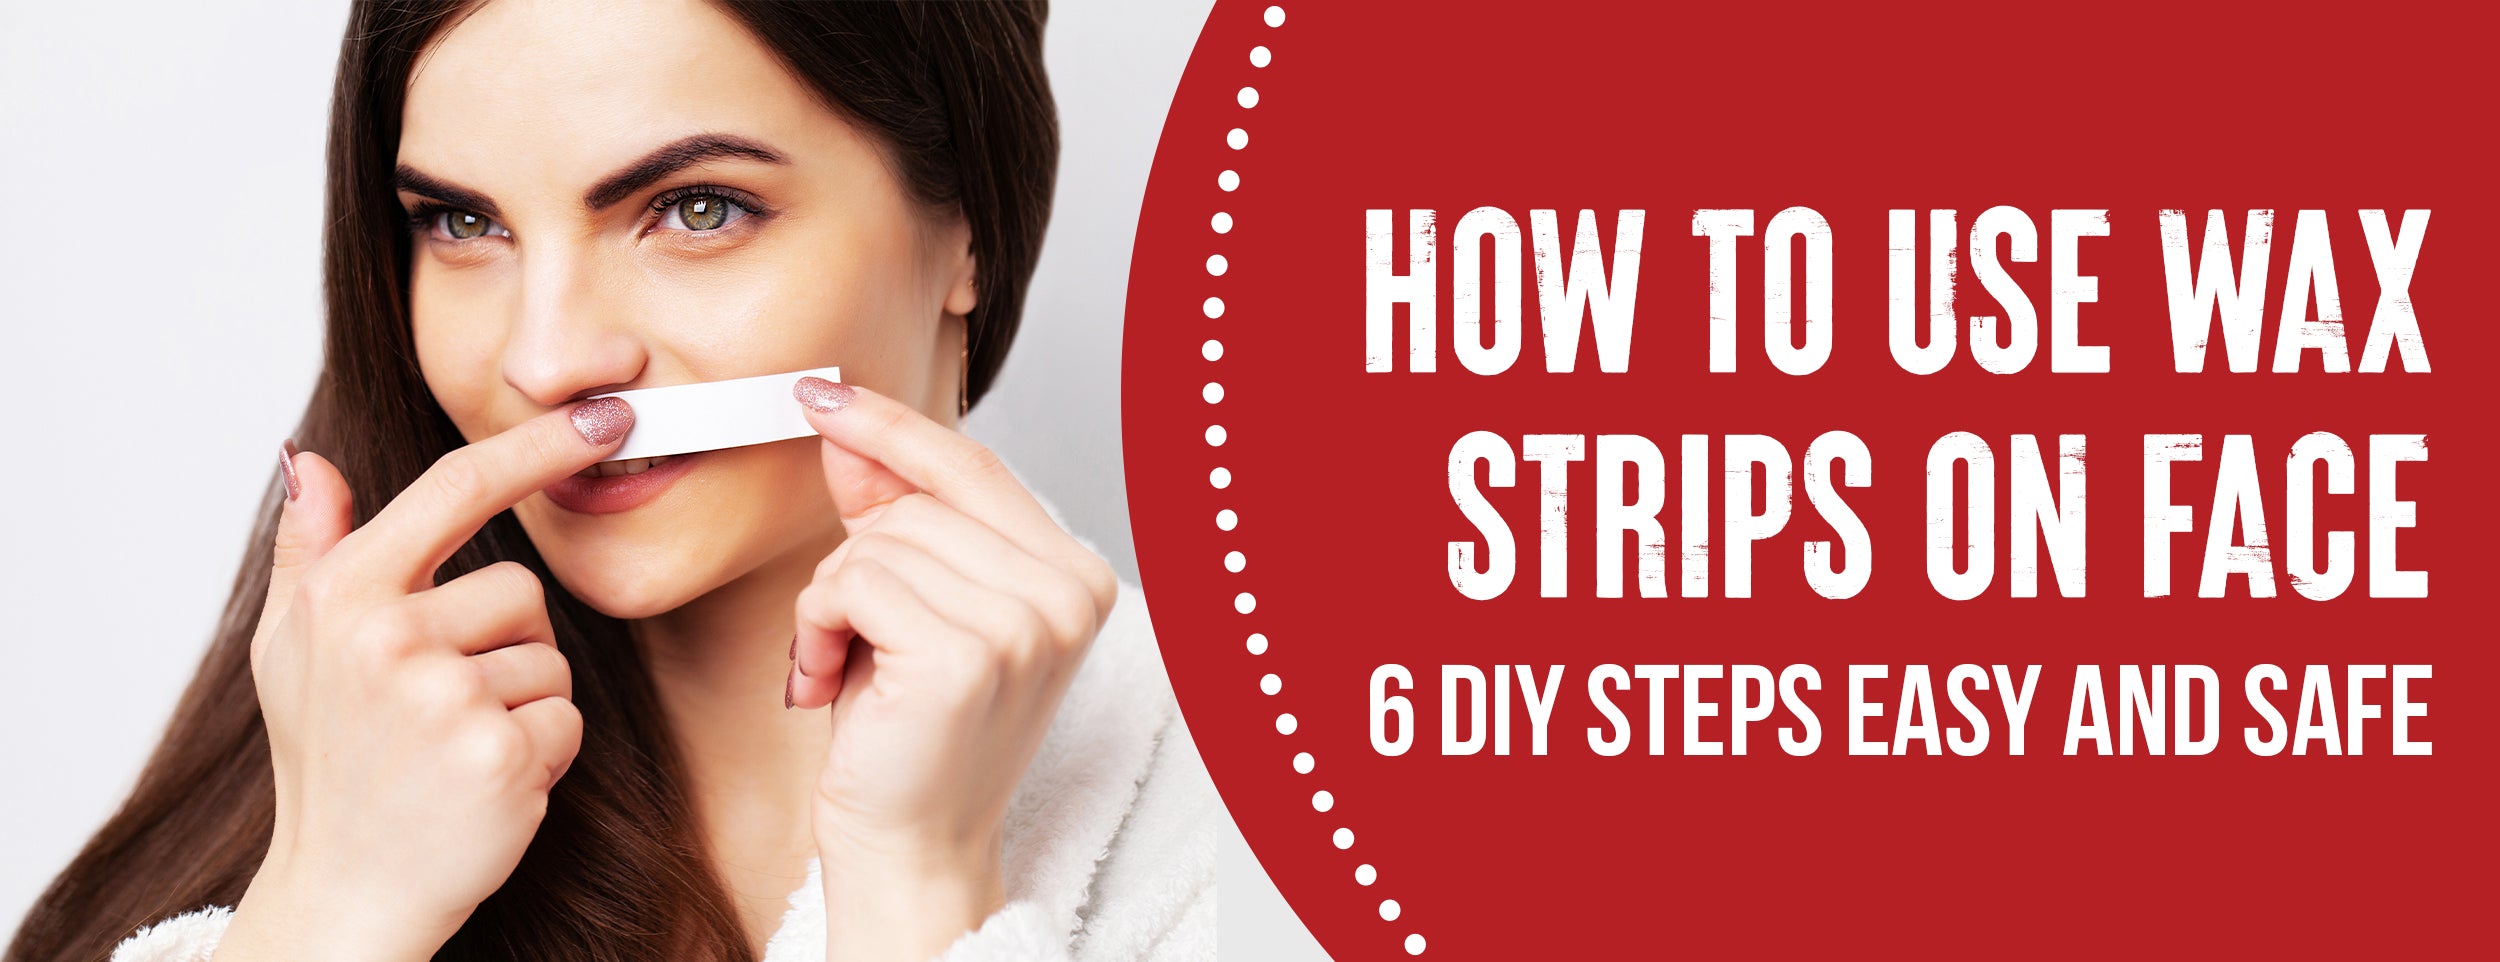
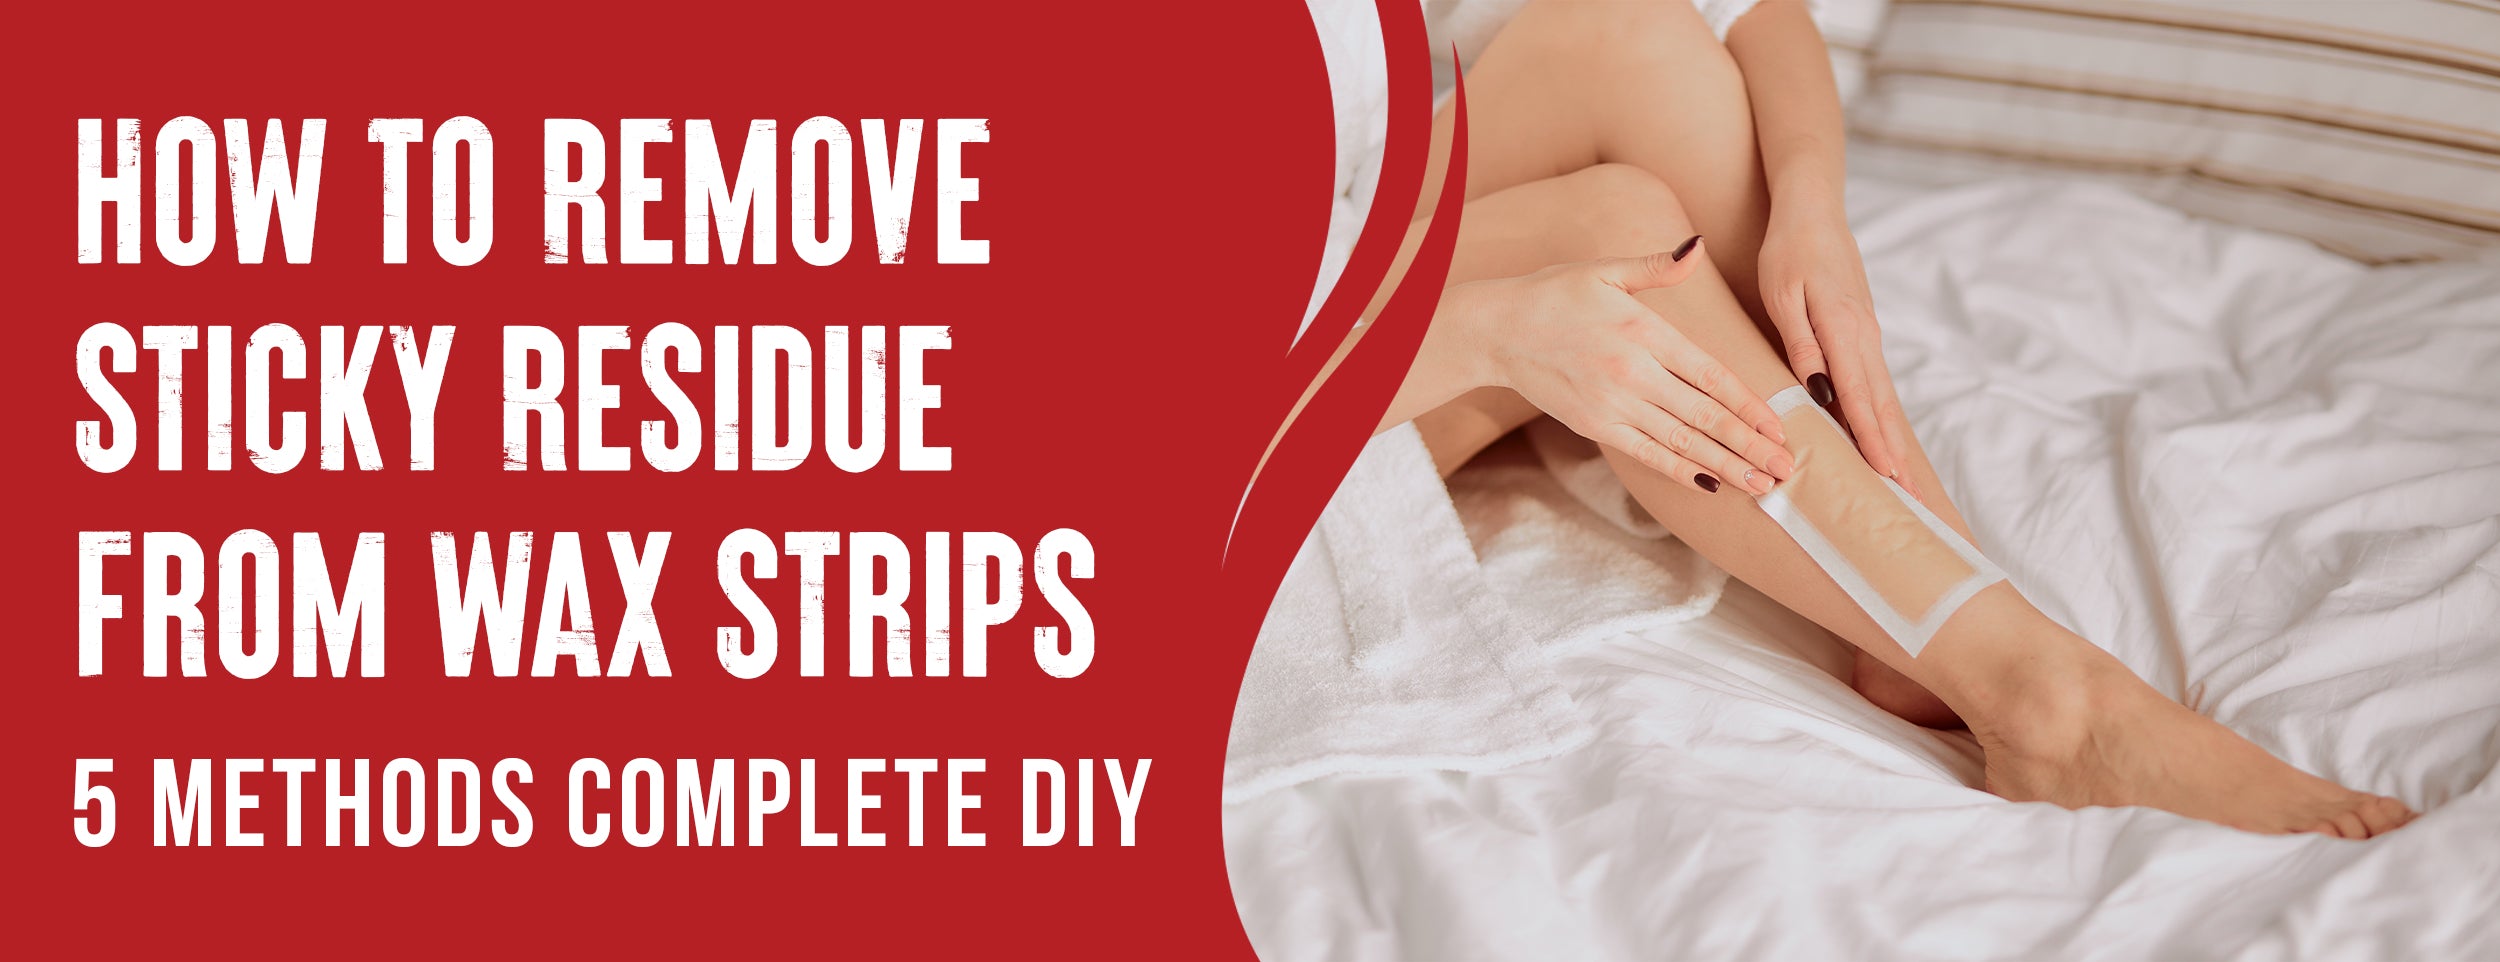
- Strips: These strips are used to remove the wax after it has been applied to the skin.
- Oil or cream: This soothing agent can help relieve any pain or redness caused by waxing.

Preparing Your Ears and Skin
Now that you have the suitable wax and tools, preparing your ears and skin beforehand is essential to ensure the best results. Here are some steps you should take:
Getting Ready for Waxing
Before waxing, it's vital to cleanse the skin and ears thoroughly. This helps remove dirt, oil, or debris and allows the wax to adhere better. To do this, follow these steps:
- Use a gentle cleanser to wash your face, and pat dry with a towel.
- Take a cotton swab and dip it in alcohol to clean the inner and outer ear.
- Pat dry with a clean towel.
Pre-Epilation Powder Absorbs Oils and Moisture
Pre-epilation powder is essential for ensuring the wax adheres appropriately and to prevent any discomfort during the process. Simply sprinkle some powder onto the area to be waxed and pat it gently into the skin.
Earhair Trimming or Plucking
If you have long or thick ear hair, it's important to trim or pluck them before waxing. This ensures that the wax adheres to the skin and not the hair. To do this, use scissors or tweezers to remove any long or thick hairs.
Applying and Removing the Wax

Now that you have a better understanding of how to care for your ears and skin after waxing let's move on to the application and removal process:
Warming Up the Wax and Testing the Temperature
Before applying wax to your ears, it is essential to warm it up first. This will make the wax smoother and easier to apply. You can heat it differently depending on what kind of wax you use. Follow these steps to warm up your wax:
- Microwave Method: Put the wax jar in the microwave and heat it for a few seconds, checking the temperature every 5 seconds until it is warm but not too hot.
- Stovetop Method: Boil water and put the wax jar inside. Heat the pot on low heat until the wax melts completely. Use a thermometer to check the temperature and ensure it is not too hot.
- Wax Warmer Method: If you have a wax warmer, you can use it to warm your wax. Simply turn on the more generous and wait until the wax melts.
Once the wax is done, testing the temperature before applying it to your ears is vital. Apply a small amount of wax to the inside of your wrist and wait a few seconds to see if it feels too hot. If it is too hot, let it cool down for a few minutes before testing it again.

Ear Wax Should Avoid Sensitive Areas
When waxing ears, it's vital to avoid sensitive areas such as the ear canal and the area around the earlobe. Follow these steps to apply wax properly:
- Start cleaning your ears with a cotton ball dipped in rubbing alcohol. Oils and dirt will be removed from your ears.
- Holding the skin around the ear tight, apply warm wax on the outer and inner parts of the ear with a wooden or plastic stick, making sure to avoid sensitive areas.
- Remove the wax after it hardens against the hair growth. Repeat the process until you have removed all the hair.
Wax Removal Quickly and Firmly
Removing wax can be painful if not done correctly. To remove wax quickly and with minimal pain, follow these tips:
- Use your non-dominant hand to hold your ear up and taut while using your dominant hand to remove the wax.
- Hold the wax strip close to the skin quickly and pull it off in the opposite direction.
- Apply pressure to the waxed area immediately after removing the strip to reduce pain and redness.
Removing Any Remaining Wax or Hair With Cotton Swabs
After removing the wax, you may notice tiny bits of wax or hair still left behind. To remove them, follow these steps:
- You can also use a cotton swab to remove the remaining bits of wax or hair gently.
- If some hairs are still left behind, use a pair of sterilized tweezers to pluck them out.
After-waxing Care

After waxing, the skin around your ears can become sensitive and prone to irritation. Here are the steps to treat your ears after waxing:
Moisturizing Your Ears After Waxing
After waxing, your ears and skin may feel sore and tender. To soothe and moisturize them, follow these tips:
- Ice the waxed area to reduce swelling or redness.
- Moisturize or use aloe vera gel on the waxed area to soothe the skin.
Common Waxing Side Effects
Waxing can sometimes have side effects, such as ingrown hairs or infections. To prevent or treat these side effects, follow these tips:
- Warm compresses can reduce pain or inflammation.
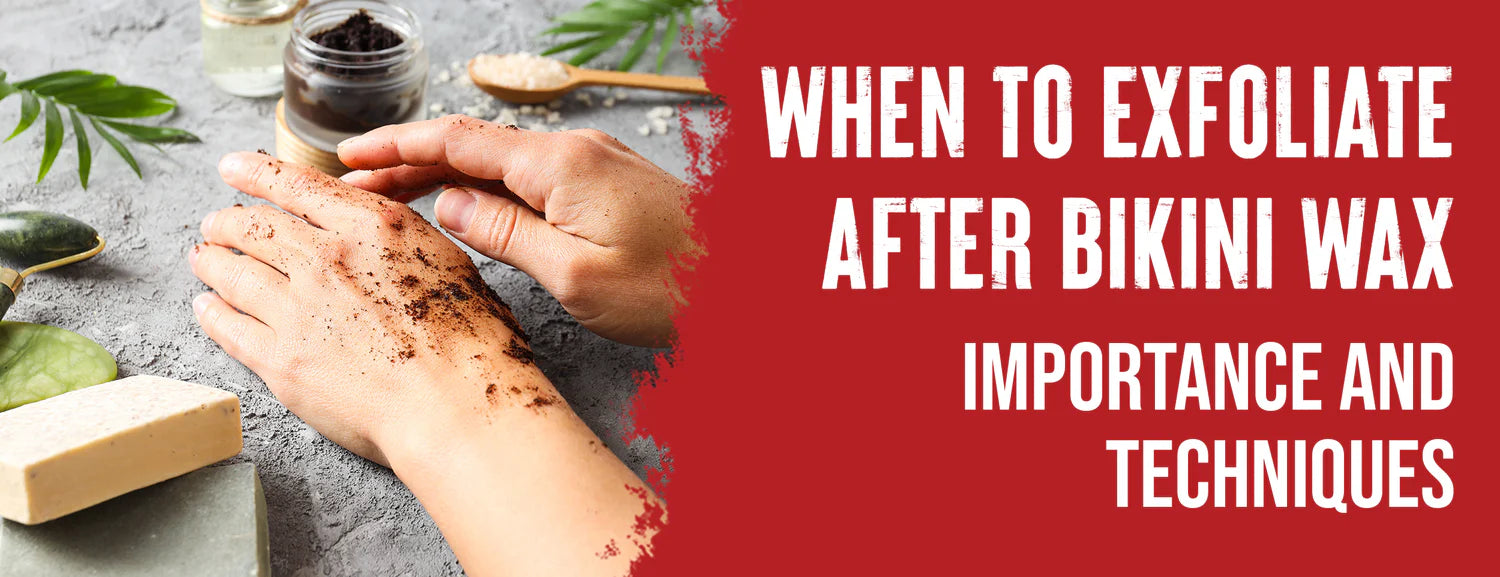
- Use an exfoliating scrub to reduce the risk of ingrown hairs.
- In case of infection, such as pus or redness, seek medical attention immediately.

Ear Hair Removal Maintenance
Waxing does not remove hair permanently. You may need to repeat the process every few weeks to maintain the results. To prolong the effects of waxing, follow these tips:
- Avoid touching your ears too much, which can cause irritation and ingrown hairs.
- Apply a hair growth inhibitor cream to the waxed area to slow down hair regrowth.
- Consider waxing other body areas for a more symmetrical hair removal look.
Conclusion
Waxing ear hair may seem daunting, but proper steps and tools make it practical and safe. Removing ear hair can bring a neat and clean look that can enhance your overall grooming and appearance.
Remember to choose the suitable wax, prepare your ears and skin, apply and remove the wax correctly, and clean your ears afterward. With these tips, you can maintain your results and enjoy a stress-free ear hair removal process.
For more information, check out our additional resources and take the first step in waxing your ear hair today.
