You can be hair-free in minutes. Microwavable sensitive wax removes unwanted hair and dead skin cells, making the skin smoother and healthier.
Yes, you can microwave wax strips, but following the manufacturer's instructions and handling them carefully is essential to avoid damage or harm. Better methods are available for melting wax to create candles than microwaving.
In this article, we'll provide practical and evidence-based guidance on how to microwave wax strips like a pro, the pros and cons of this method, and the alternatives you can try.
Can You Microwave Wax Strips: 6 Easy Steps

While traditional waxing usually requires heating the wax on a stove or in a warmer, microwaving wax strip can be faster and more convenient. We will guide you through the steps of microwaving wax strips like a pro.
Choose the Right Type and Size of Wax Strips
Before microwaving wax strips, choosing the right type and size is essential. Check the instructions and precautions provided by the manufacturer. Follow these guidelines to ensure the best results:
- Choose a wax strip that suits your skin type and hair texture. Some wax strips are designed for sensitive skin or coarse hair.
- Select a size that fits the area you want to wax. For example, small strips are ideal for the upper lip, while larger strips are better for the legs.
Prepare the Microwave-Safe Container or Wax Paper
You will need a microwavable container to microwave wax strips. Follow these steps to prepare them:
- Select a container or wax paper that can withstand high temperatures. Avoid plastic or metal containers that may melt or create sparks. Glass or ceramic containers are more suitable.
- Cut the strips to the desired size. If you have long hair, you may need to cut the strips into smaller pieces for a more straightforward application.
Heat the Strips in Short Intervals
Microwaving wax strips requires a bit of patience and attention. Follow these instructions to heat the strips safely and effectively:
- Place the strips in the container, leaving a small space between each strip.
- Heat the strips in 5 to 20-second intervals, depending on your microwave's power.
- Stir or check the strips between intervals to prevent overheating or burning.
- Stop microwaving when the wax is melted but not too hot or runny.

Test the Temperature and Consistency of the Wax
Before applying the wax strips to your skin, it is essential to test the temperature and consistency. Here's how to do it:
- Apply a small amount of wax to your inner wrist or ankle.
- Wait a few seconds to test the temperature. The wax should feel warm but not hot enough to burn your skin.
- Check the consistency of the resin by touching it with your fingertip. It should be smooth and easy to spread.
Use Protective Gear to Avoid Burns and Spills
When using wax strips, protect your skin and surroundings from burns and spills. Here are some tips to follow:
- Wear gloves to prevent the wax from sticking to your hands or spreading bacteria.
- Use a spatula or strip to apply the wax evenly, and avoid touching it with your fingers.
- Place a cloth or paper towel under your waxing area to catch any drips or spills.
- Avoid using wax strips on sensitive or broken skin, which may cause irritation or infection.
Apply the Wax Strips and Repeat the Process
Now that you have heated the wax strips and tested the temperature and consistency, it's time to wax. Follow these steps for the best results:
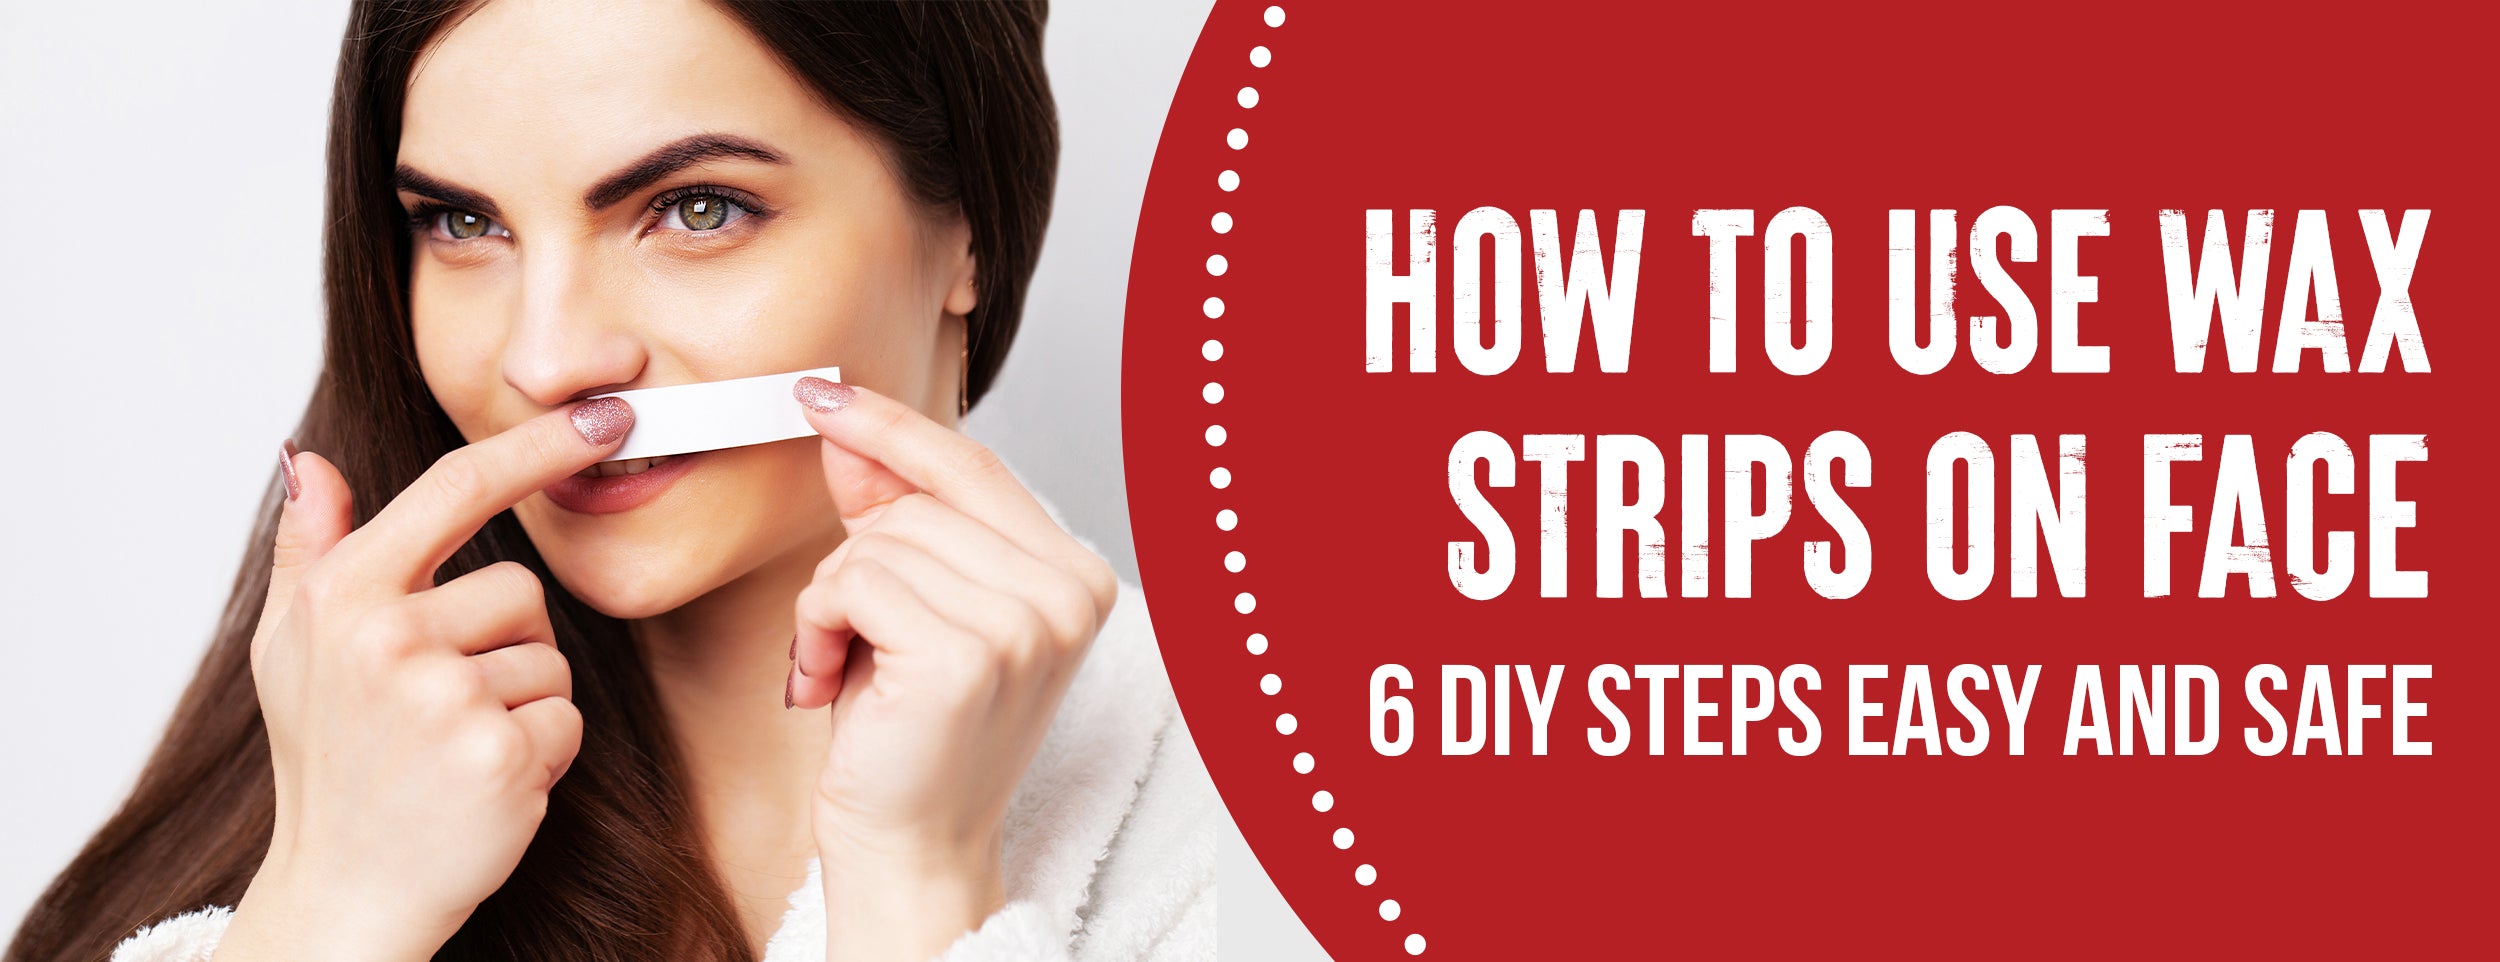
- Apply the wax strip to the area with hair growth, pressing firmly and smoothing out any air bubbles.
- Hold the skin taut with one hand and pull it in the opposite direction with the other hand.
- Avoid pulling the strip upwards or parallel to the skin, which may cause pain or bruising.
- Repeat the process with clean strips until you achieve the desired results.
Microwave Wax Strips: 3 Main Alternatives
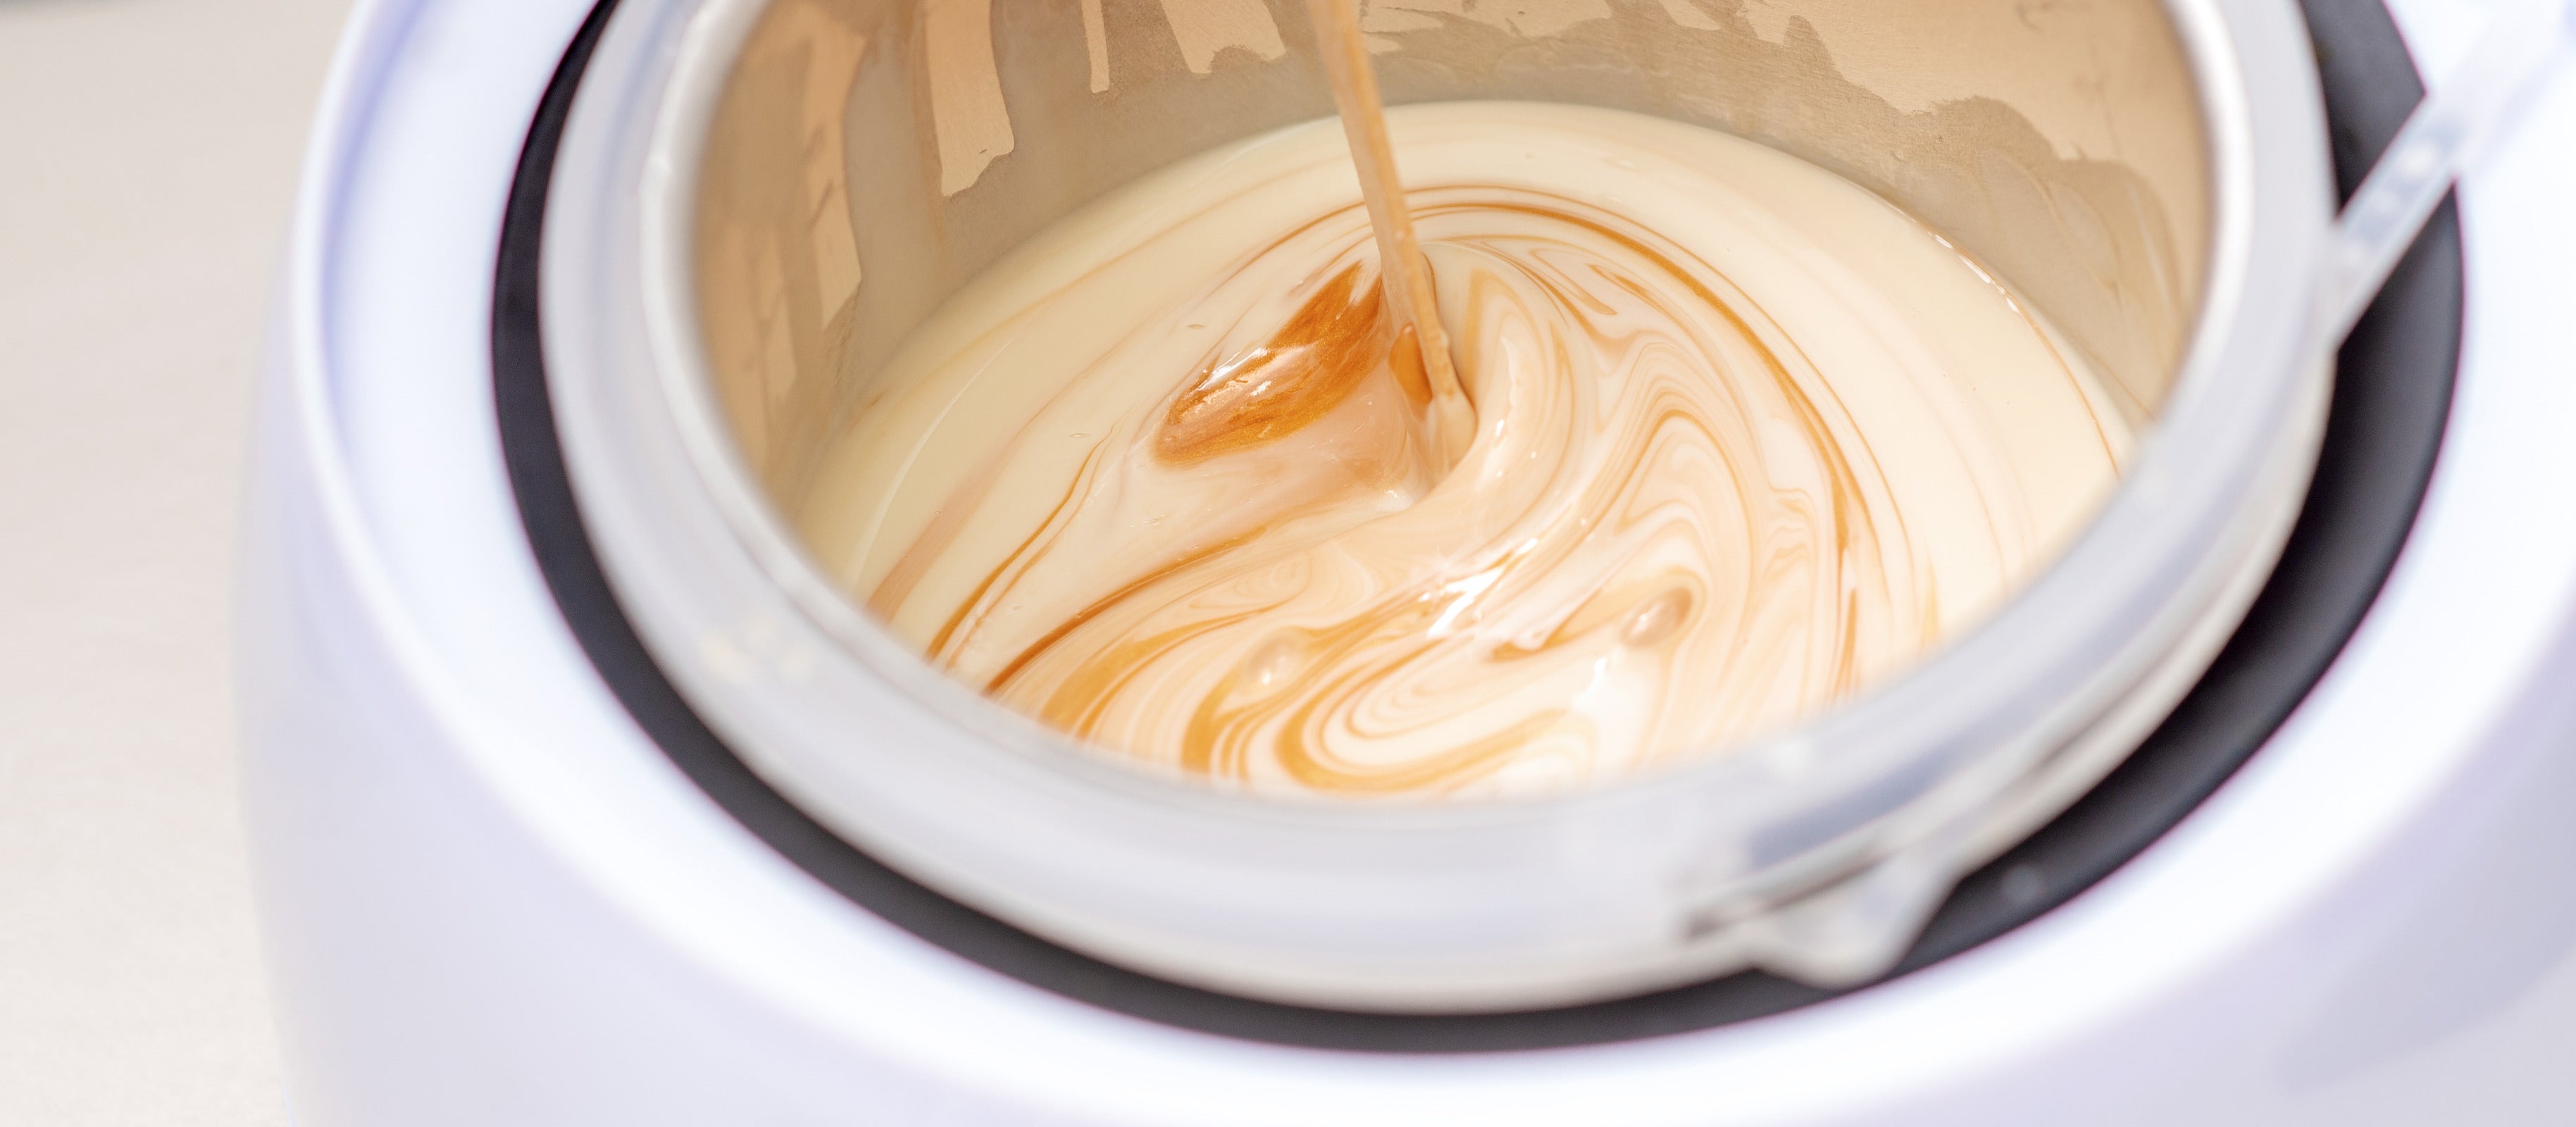
Only some people want to use a microwave to heat the wax. Luckily, there are other options available. We will explore three main alternatives to microwaving wax strips: wax warmers, double boilers, and hair dryers.
Wax Warmers
Wax warmers are an excellent alternative to microwaving if you wax frequently or have more than one person using the wax. They come in various sizes and shapes, from small ones holding one pot of wax to larger ones accommodating several banks.
Types and Brands of Wax Warmers: There are many types of wax warmers, including single-pot wax warmers, double-pot wax warmers, and hard wax warmers.
Features and Prices: Wax warmer prices vary depending on the size and features. Smaller and simpler models can range from $20 to $40, while more extensive and advanced models can cost upwards of $100.
Benefits and Drawbacks: Using a wax warmer includes a safer and more consistent way to melt the wax, a more controlled temperature, and storing multiple wax pots. The main drawback is that it requires an electrical outlet and more storage space than microwaved wax strips.
How to Use and Clean: To use a wax warmer, place the wax pot inside the more generous, turn it on, and let the wax melt. To ensure even heating, stir the wax occasionally. When you're finished, turn off the warmer and let it cool before cleaning. Clean the pot with an oil-based cleanser and a paper towel or cloth.
Double Boilers
A double boiler is another option that doesn't require a microwave. It's a safe and effective way to melt wax without risking burns or ruining it.
Materials, Ratios, and Procedures: To create a double boiler, you'll need a pot of boiling water and a smaller pot inside. The ratio of water to wax should be roughly equal. Place the smaller pot inside the boiling water and add the wax. Stir occasionally until the wax is melted.
Advantages and Disadvantages: Double boilers are a gentler way to heat the wax, which means less chance of burning yourself or the wax. It can be messy and takes longer to heat up than a wax warmer.
How to Avoid Scalding and Mess: Be careful not to get water in the smaller pot with the wax. A spoon or spatula can stir the wax to avoid spilling it. Turn off the heat and remove the smaller pool from the boiling water once the wax is melted.

Hair Dryers
Using a hairdryer to melt wax is a unique alternative that can work for some people. It's an easy option that only requires a little space or investment.
Settings, Attachments, and Techniques: Set your hairdryer to high heat and hold it a few inches away from the wax strip until it melts. Some hairdryers come with attachments that direct the heat more precisely.
Strengths and Weaknesses: The primary benefit of using a hair dryer is that it's a fast and accessible method. It's less consistent than a wax warmer or double boiler and may not work as well with thicker or more stubborn hair.
How to Adjust to Different Hair Types and Textures: The hairdryer method may work well if you have thinner or finer hair. If your hair is thick or coarse, try a different way.
Conclusion
Microwaving wax strips can be a convenient and accessible way to wax at home, but it does come with some risks and limitations. To use this method safely and effectively, Select the suitable wax strips, prepare the wax paper or container, heat the strips quickly, ensure the wax is hot and sticky, use protective gear, apply the strips firmly and promptly, and follow clean-up and storage instructions.
Suppose you are concerned about the quality and safety of microwaving wax strips or want more consistent and professional results. Consider alternative options such as wax warmers, double boilers, or hair dryers. Ultimately, the choice is up to your comfort level.
Still, with the correct information and practice, you can enjoy the benefits of waxing without leaving your home or breaking the bank. So, go ahead and experiment with different methods and techniques, and remember to pamper and love your skin and body.
