![Cleaning Belly Button Piercing: 5 Easy Steps [With After Care Tips]](http://drnumb.com/cdn/shop/articles/How_To_Clean_Belly_Button_Piercing__5_Easy_Steps_3_Warning_Signs.jpg?v=1710760985&width=1100)
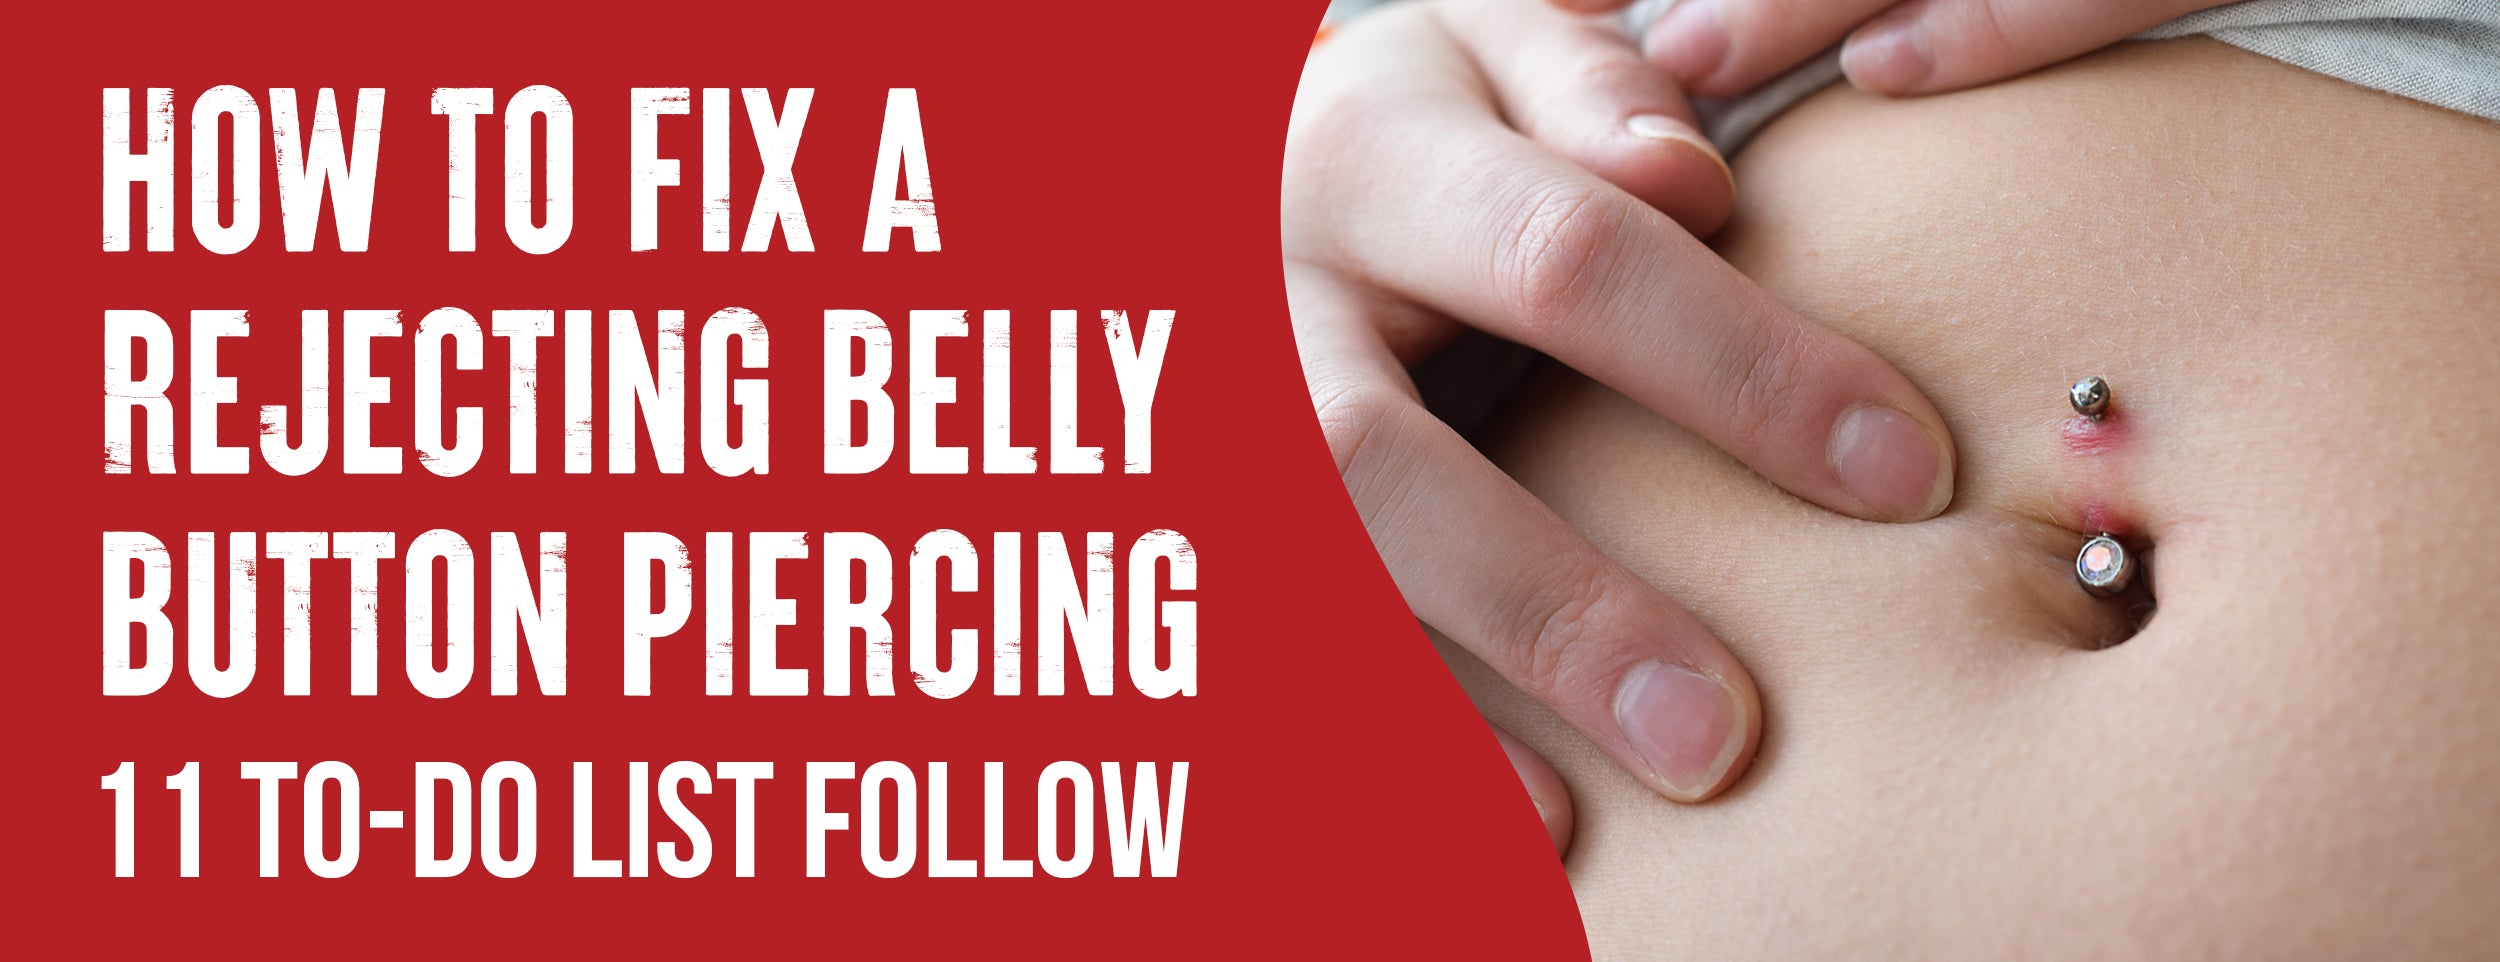
Belly button piercings are more susceptible to infections because of their shape, providing an ideal hiding spot for bacteria. In the event of an unsterile piercing needle, there is a risk of contracting severe infections such as hepatitis or tetanus.
Cleaning a belly button piercing twice a day is recommended. Mix salt water and sea salt (1/2 teaspoon per 1 cup) to remove dried healing scabs. Follow up with a gentle cleansing using antibacterial soap and water. This routine will help maintain cleanliness and promote healing.
In this blog post, we will explore how to clean belly button piercing with these easy steps. We'll also give you some aftercare tips for preventing infection.
How To Clean Belly Button Piercing: 5 Easy Steps

Your belly button piercing can be effectively cleaned by following this comprehensive guide. Explore the essential materials, step-by-step instructions, and the significance of proper hand hygiene to prevent infections. Maintain the cleanliness and health of your piercing with these invaluable tips.
Step 1: Cleaning Materials Preparation
Having the correct materials before cleaning your belly button piercing is essential. Proper cleaning materials ensure a thorough cleaning, prevent potential infections, and promote quicker healing. Below, we've provided a detailed list of all the cleaning supplies you'll need:
- Saline solution.
- Clean towels.
- Mild, fragrance-free soap.
- Cotton Swabs.

Prepare Cleaning Materials
Now that you know what they are, let's prepare these materials for action:
Saline Solution: A saline solution is your best friend for cleaning a belly button piercing. It's gentle enough not to irritate your skin yet effective enough to keep the pierced area clean and infections at bay.
- You can buy pre-made saline solution from any pharmacy or make your own at home by dissolving approximately 1/8 to 1/4 teaspoons of unionized sea salt in a cup of warm distilled or bottled water. Remember, too much salt can irritate your skin - less is more.
Clean Towels: The role of clean towels in this process cannot be overstated. They're essential for drying the area around your piercing after cleaning and creating a clean surface where you can lay your cleaning supplies.
- Always ensure that the towels you're using are clean to prevent introducing any unnecessary germs to your piercing.
Mild, fragrance-free soap: A mild, unscented soap will be your go-to for cleaning around the piercing area. It's imperative to use unscented soap to avoid irritating the piercing.
- Make sure you have soap ready and that it's mild and free from perfumes or dyes that might irritate your belly button piercing.
There you have it - everything you need to ensure your belly button piercing cleaning is effective and safe.
Proper Hand Hygiene Before Cleaning
To maintain the cleanliness of your belly button piercing, one crucial step you shouldn't ignore is ensuring hand hygiene. It's the stage in preventing complications like infections. Hand hygiene plays the following roles in protecting your belly button piercing:
- Preventing Infections: Your hands host millions of bacteria, some of which may lead to an infection if they come into contact with your belly button piercing. By ensuring your hands are clean before handling the piercing, you significantly minimize this risk.
- Avoiding Other Health Complications: Beyond infections, dirty hands could introduce other complications like allergic reactions. Cleaning your hands beforehand helps prevent such a scenario.
Step 2: Cleaning with Saline Solution
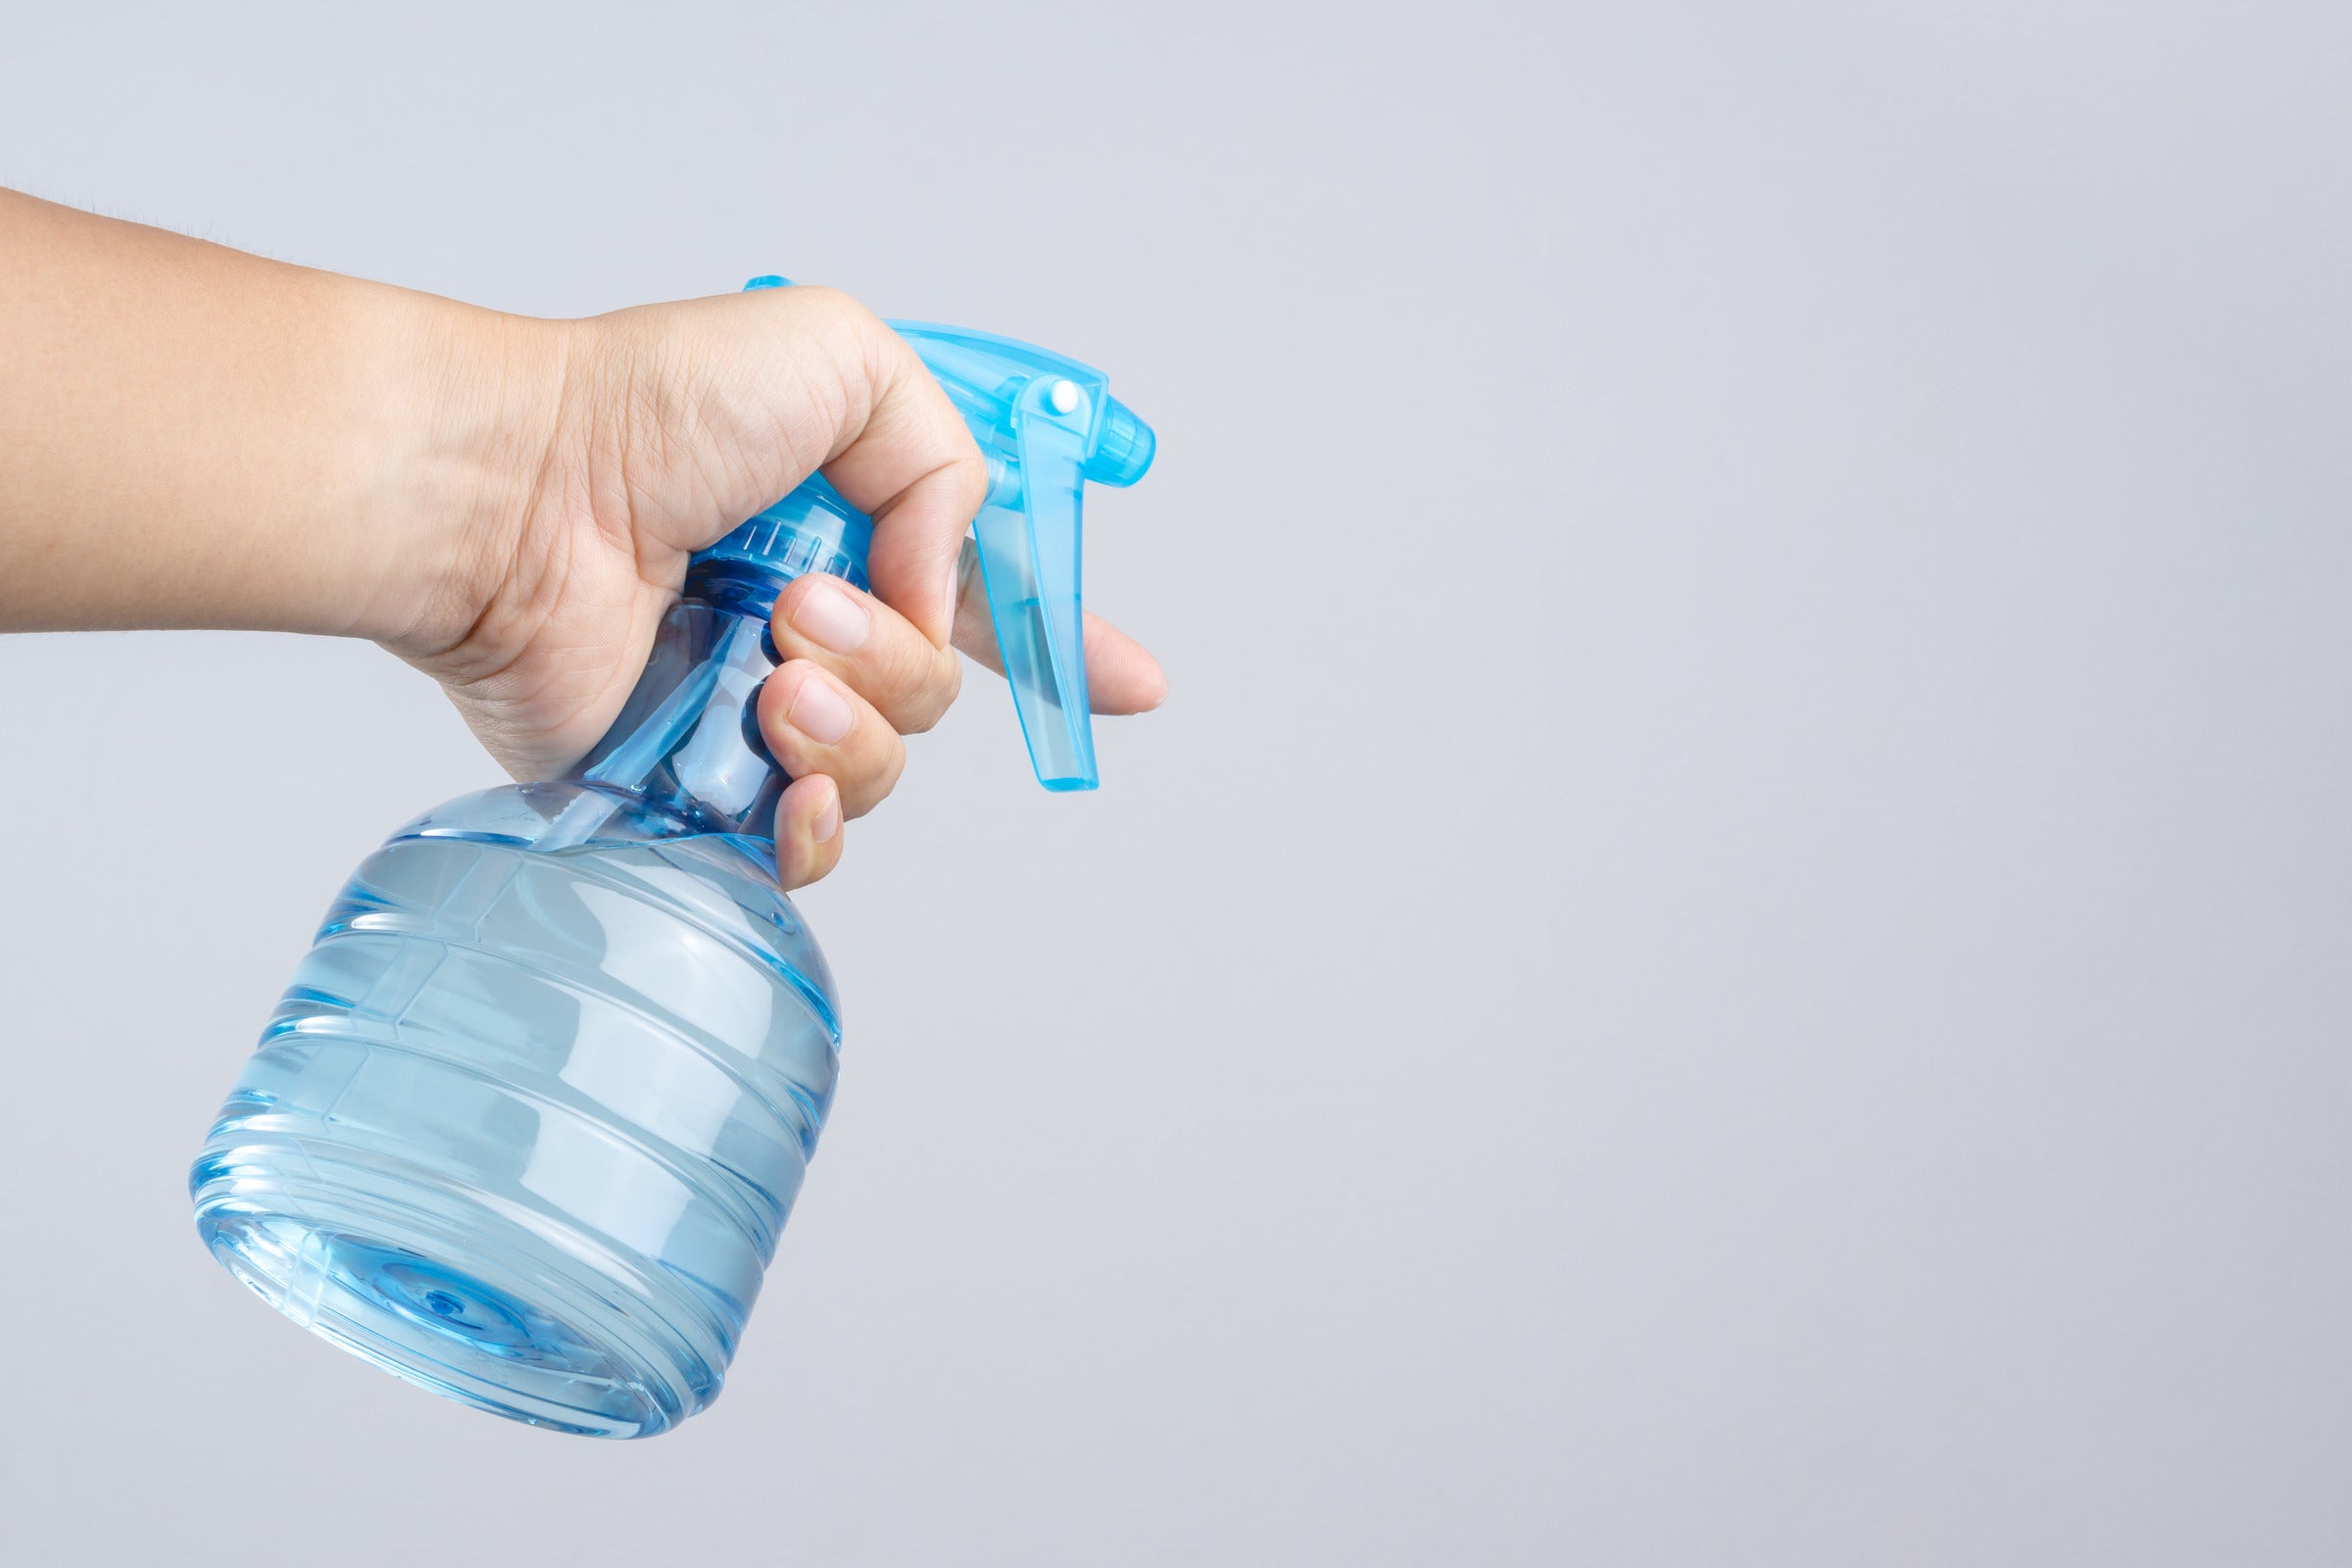
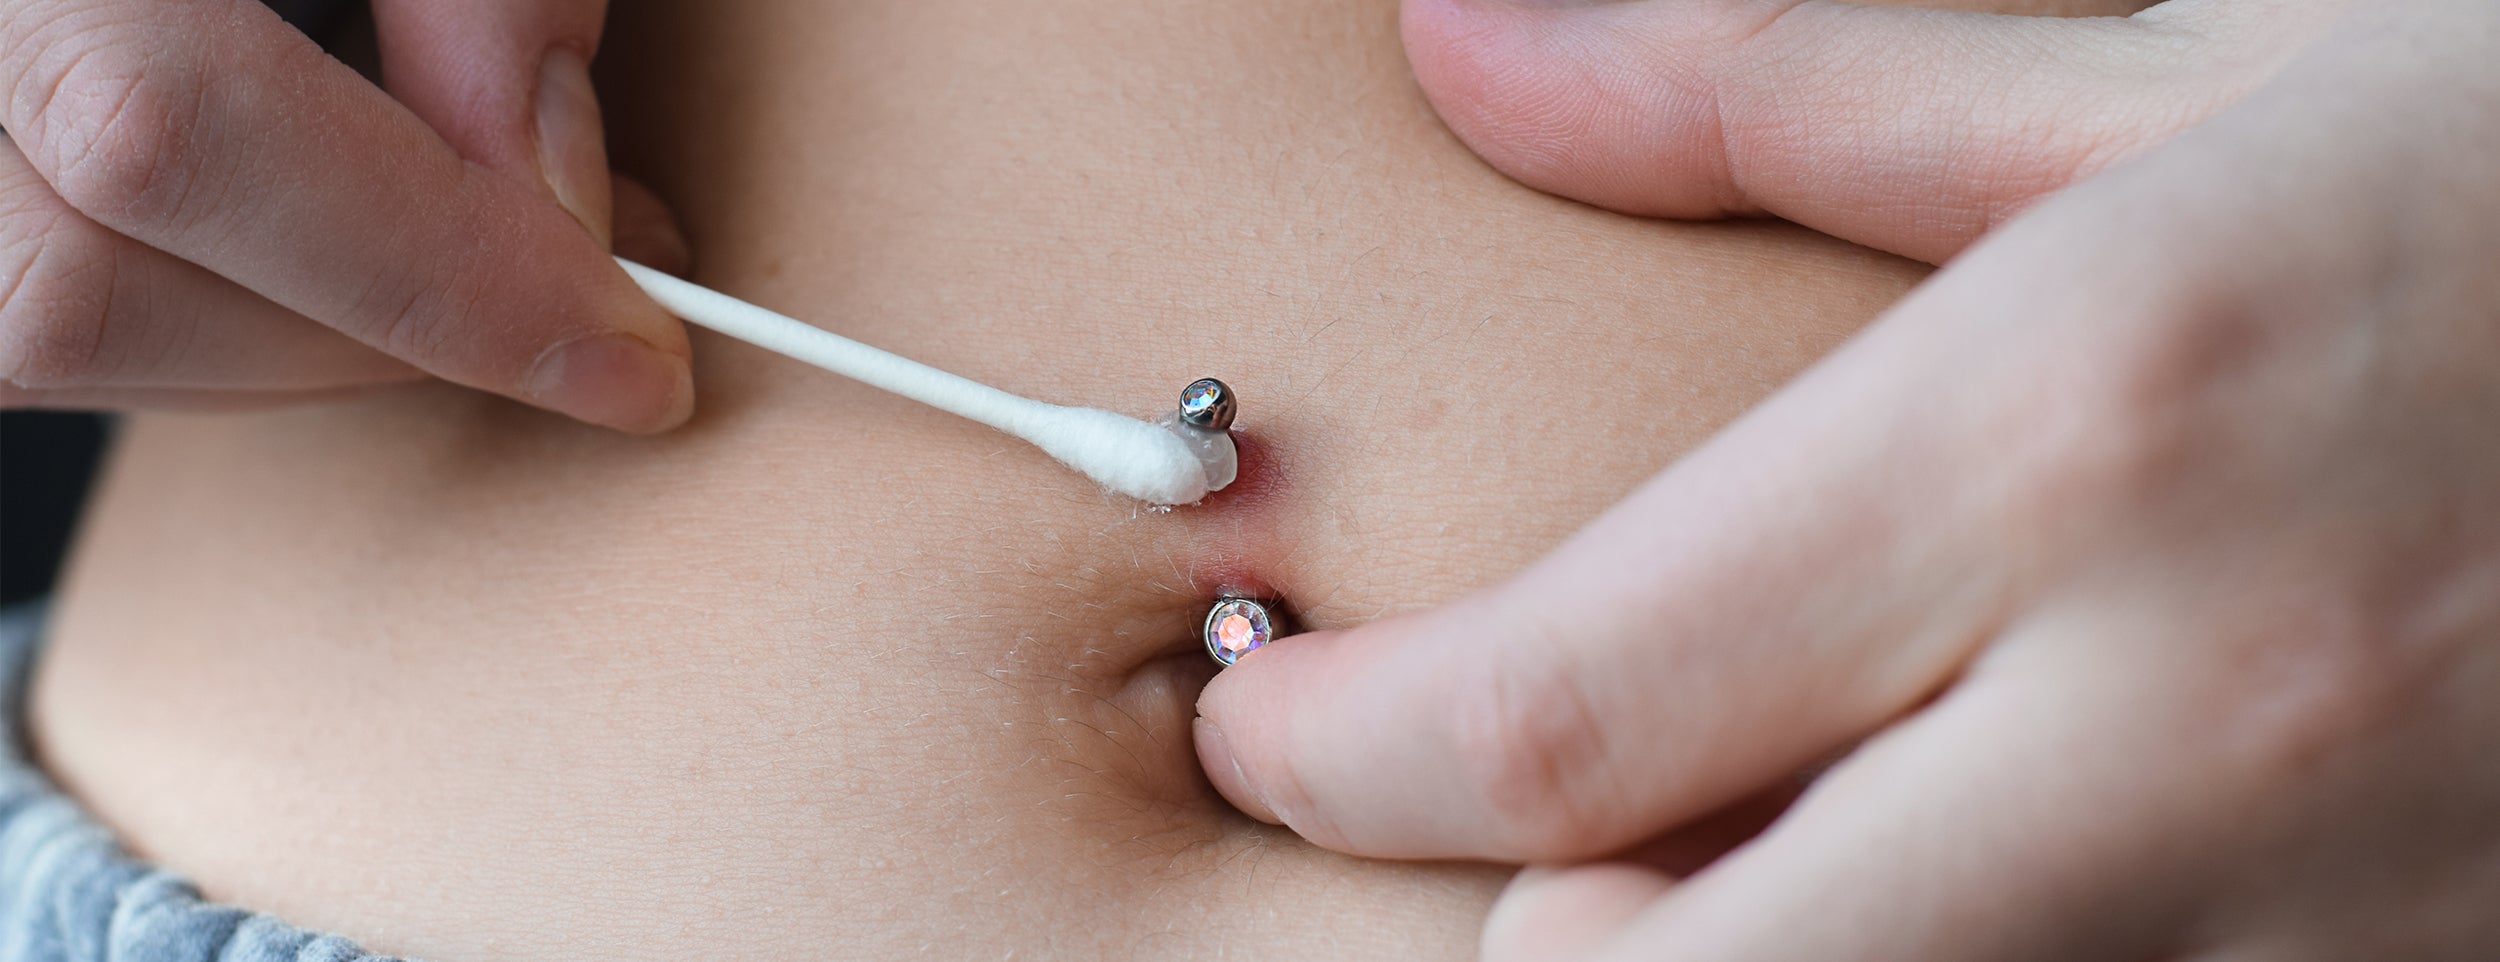
It's crucial to take care of your new belly button piercing, and one of the best ways to do this is by cleaning it with a saline solution. Not only does it help prevent infections, but it promotes a faster healing process. Here's a detailed walkthrough of how to use saline solution to clean your belly button piercing:
- Application: Use a clean cotton ball or a swab, dip it into the solution, and gently dab it into your piercing. Ensure the solution covers the entire area.
Efficiency Tips
Here are a few tips to ensure efficient cleaning:
- Use the correct saline solution: Ensure you use a non-iodized sea salt solution, as iodized salts can irritate.
- Don't overly soak: Too much soaking can cause skin irritation. The recommended soaking time is about 5 minutes.
- Consistency is key: Clean your piercing with the saline solution twice daily until the healing is complete.
Step 3: Cleaning with Soap And Water
Ensuring your new belly button piercing is clean is crucial; soap and water can be your best allies. Here's a guide on correctly and safely using these everyday items for optimal hygiene.
- Cleaning Process: Gently clean the piercing with your soap and water. Avoid applying too much pressure, which could cause discomfort or harm the piercing.
- Rinsing Off: Rinse the area with warm water to remove all soap residues. Left behind, soap can cause irritation or infection.
Step 4: Proper Drying of Belly Button Piercing
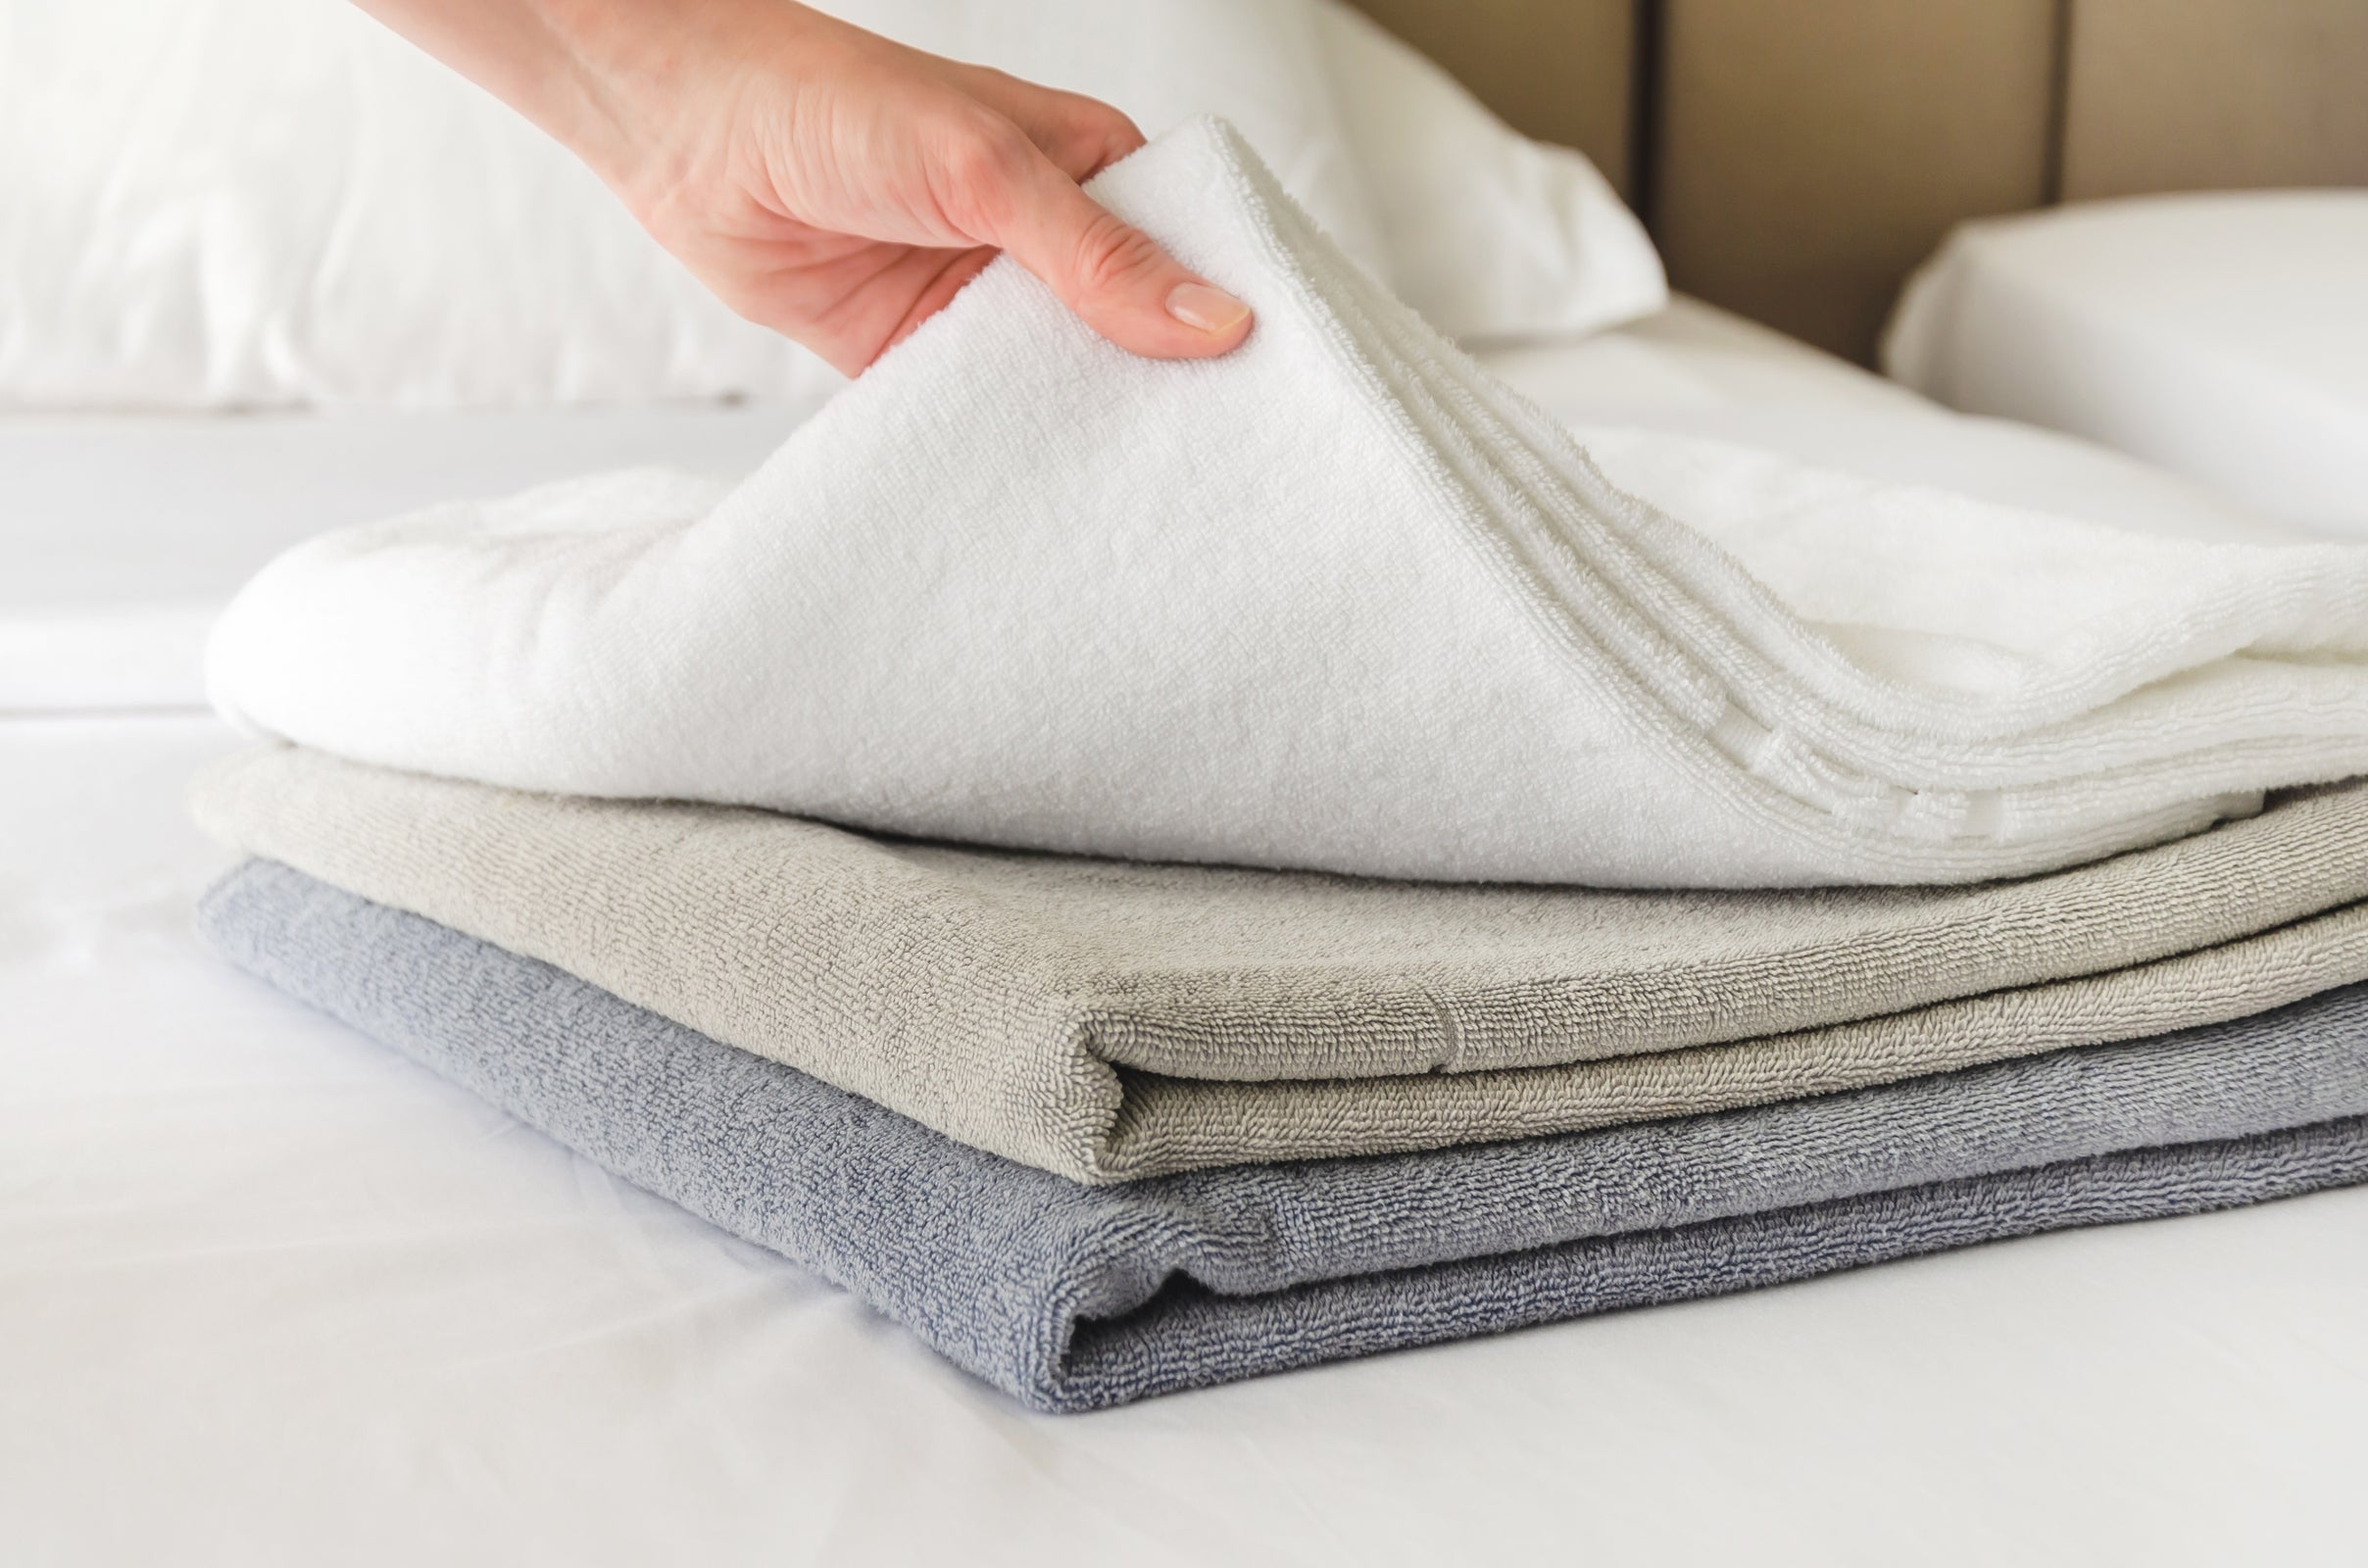
After cleaning the belly button piercing, it's crucial to dry the area immediately. Why? A buildup of moisture can create the perfect environment for bacteria to grow. Here's a simple guide to effectively dry your piercing:
- Pat Dry, Don't Rub: Gently pat around the belly button piercing using a clean towel or cloth. It's crucial not to rub, as this can exacerbate irritation and delay healing.
- Use Quality Materials: Use a clean, soft cotton towel or surgical gauze for drying. Avoid using paper toweling or tissues, as they can easily break and get stuck in your piercing.
- Air Dry: After patting dry, allow your belly button piercing to air dry for a while. It helps to ensure the area is free from moisture.
Step 5: Healing Ointments for Belly Button Piercings
Applying the proper healing ointments if recommended by your healthcare provider or piercing professional, can make all the difference when caring for your new belly button piercing. This step should be noticed, given its significance in the healing process of your piercing.
Using Healing Ointments Properly
It could be clearer whether to apply ointments and understand the best way. Below are a few points to help guide you through this process:
- Timing is essential: Typically, you'll want to apply the ointment after carefully cleaning the piercing area, but remember to always stick to the frequency prescribed by a professional. This is key to avoid overuse, which could delay the healing process.
- Application process: Wash your hands thoroughly before applying the ointment. This is to minimize the risk of introducing further bacteria to the area. Next, lightly coat the piercing and surrounding skin with a thin layer of the ointment. A little goes a long way, so don't overdo it.
Tips for Effective Application
Finally, here are some additional tips to help you apply your ointment effectively:
- Use a mirror to ensure you apply the ointment to the correct area.
- Try not to touch the piercing with your bare hands. This avoids transferring bacteria.
- Keep your ointment in a cool, dry place when not using it.
Belly Button Piercing: After-Care
You've got a belly button piercing, but the journey doesn't stop there. To maintain the health of your piercing and avoid any potential issues, you must follow some important after-care tips:
- Avoid Irritation: Avoid touching or twisting your piercing unless you clean it. Excessive movement can delay healing and cause irritation.
- Proper Clothing: Wear loose, breathable clothing to prevent friction against the piercing. Tight fabrics can catch on the ring or stud, causing discomfort or potential damage.
- Monitor Healing Process: Everyone's body heals differently, so observing your piercing closely is important. It should start looking less red and painful within a few weeks.
Warning Signs of Potential Issues
Issues can arise even under the best care. Knowing what to look out for and when to seek professional help is vital.
- Excessive Swelling or Redness: While some swelling and redness are normal after piercing, it may show an infection if it continues for over a few days.
- Pus Discharge: Clear or straw-colored fluid is normal, but if you notice green or yellow pus, it might be a sign of infection.
- Prolonged Pain or Itching: It's normal to experience some pain or itching immediately after the piercing, but if it continues or worsens, it could be a cause for concern.
Always remember, if you have any concerns or doubts about your belly button piercing, don't
Conclusion
And there you have it, folks! A clean, happy belly button piercing is within your reach, and we've laid out the roadmap to get you there. Remember, cleanliness is vital to keeping your piercing in tip-top shape, so take advantage of those cleaning routines.
With our step-by-step guide and after-care tips, you'll be flaunting that belly button, bling confidently in no time. Get in touch with a pro if you notice any red flags or funky smells.
So, here's to a sparkling clean piercing and endless belly button adventures ahead. Stay fresh, stay fabulous, and keep rocking that belly button bling.
Surprise Offer!
with FREE SHIPPING!


Coupon: Numb20

Coupon: Numb20
Coupon: Numb20
Coupon: Numb20
Coupon: Numb20
Coupon: Numb20
Coupon: Numb20